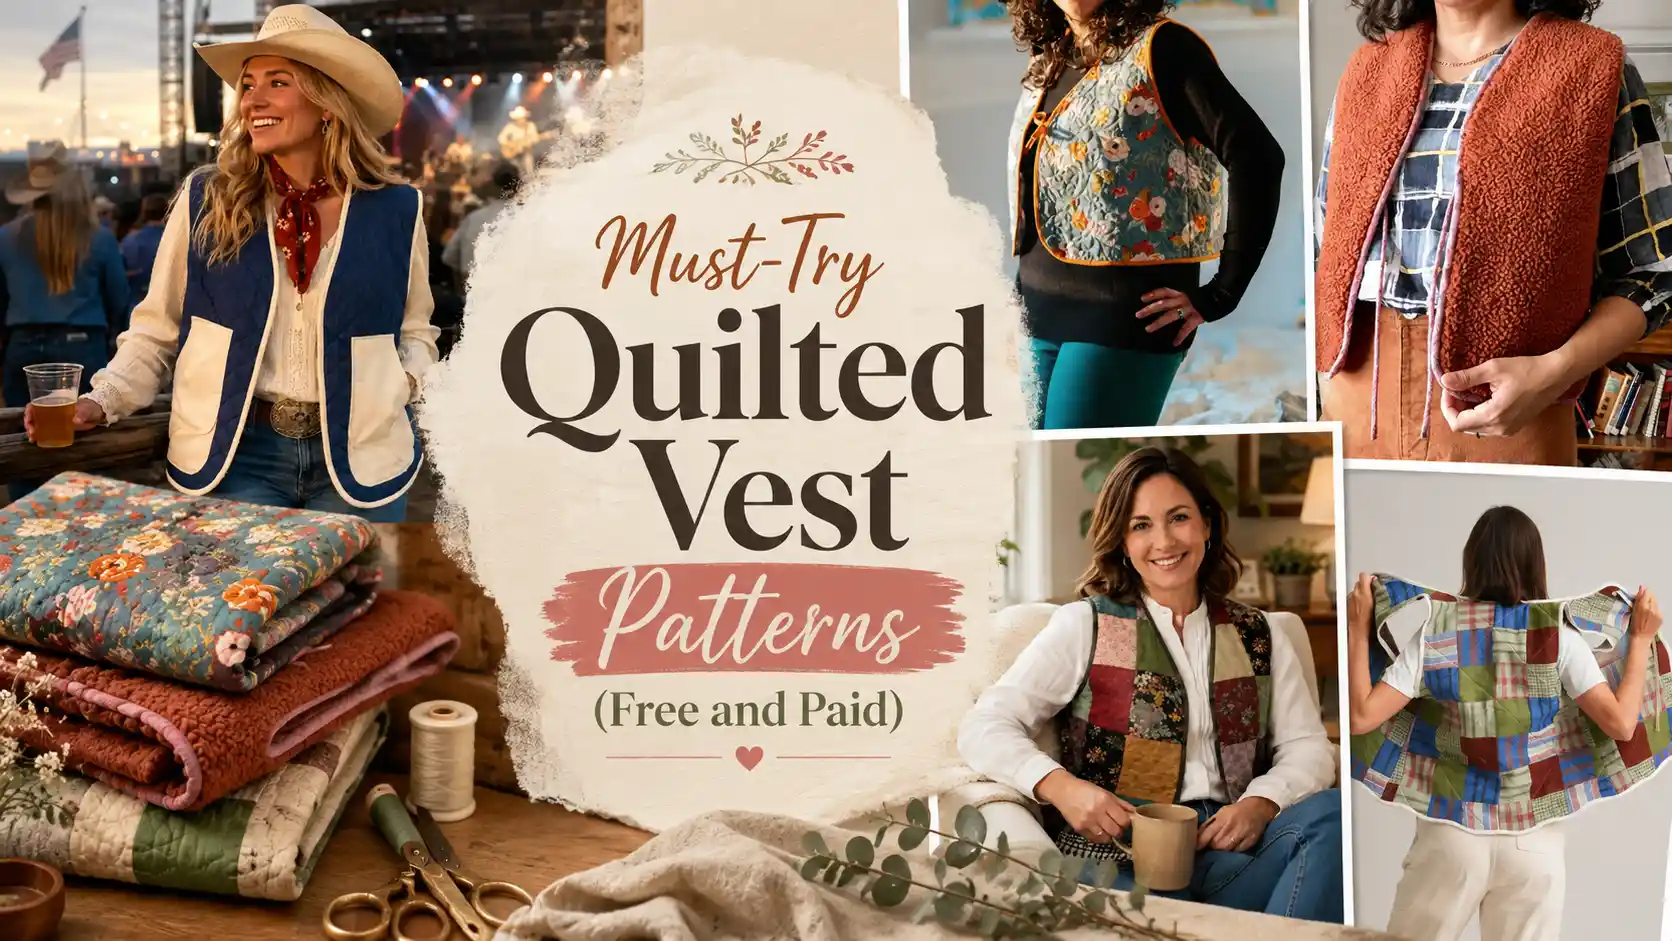
If you’ve been thinking about making a quilted vest, these patterns are a wonderful place to start. Better still, making your own means you get to choose the fabrics, quilting design, and fit instead of settling for what’s available in stores. Some of these projects are perfect if you’re sewing your first garment, and others let you turn favorite patchwork fabrics into something you’ll reach for year after year.
Things You’ll Need
- High-quality cotton fabric bundles
- Acrylic quilting rulers for precise shapes
- Sewing machine with quilting foot attachment
- Soft batting for a cozy finished feel
Must-Try Quilted Vest Patterns
Looking for the pattern or tutorial? You’ll find the source link right below each image. Some featured projects are shared for inspiration, so not every image includes a step-by-step tutorial!
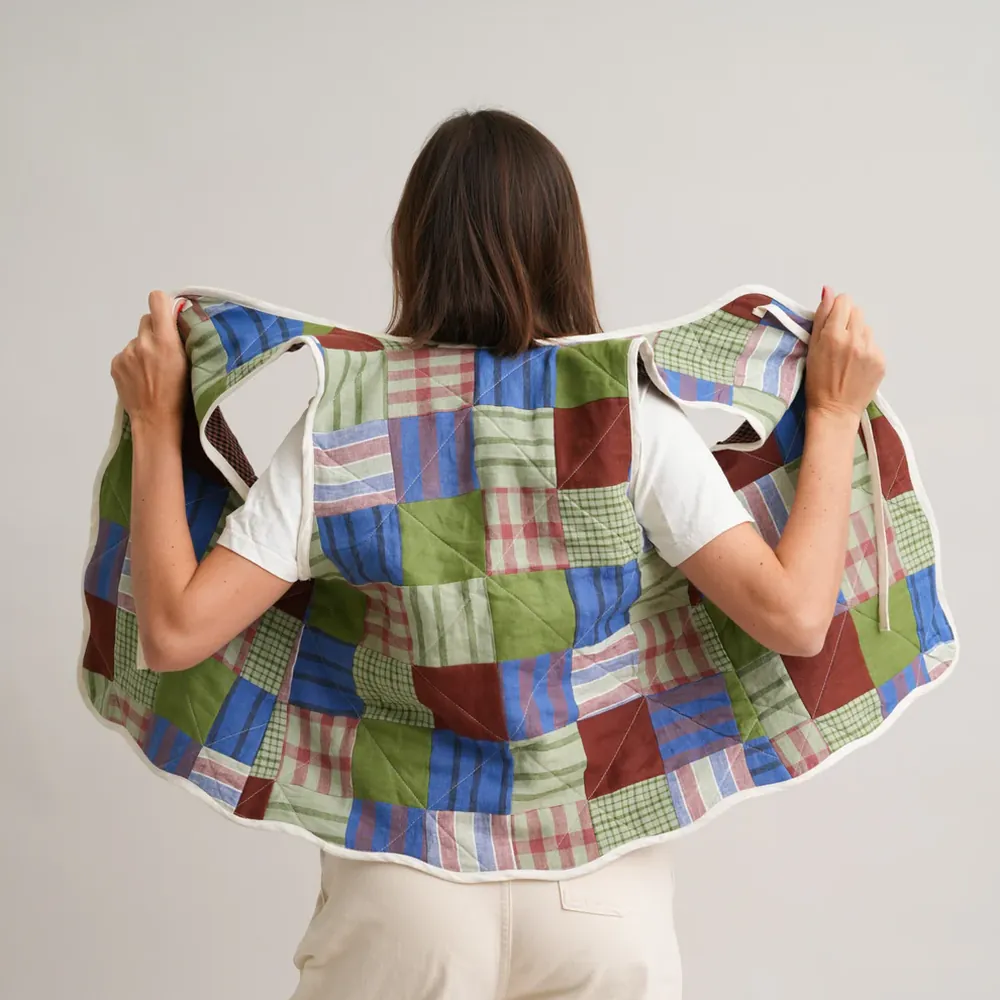
1. Free Wavy Quilted Vest PDF Sewing Pattern
Skill Level: Beginner to Intermediate
Time to Make: 1–2 days
A simple silhouette paired with wavy quilting gives this vest a relaxed look that’s easy to wear through every season. Since the construction isn’t overly complicated, you can spend more time enjoying your fabric choices and less time worrying about tricky techniques.
If you’re quilting your own fabric before cutting the pattern pieces, stitch a small sample first using the same batting and thread. It’s the easiest way to see how the layers behave and decide if you’d like the quilting lines closer together or spaced farther apart.
That little test also helps you avoid surprises once you begin sewing the full vest.
2. DIY Reversible Quilted Waistcoat Vest Tutorial
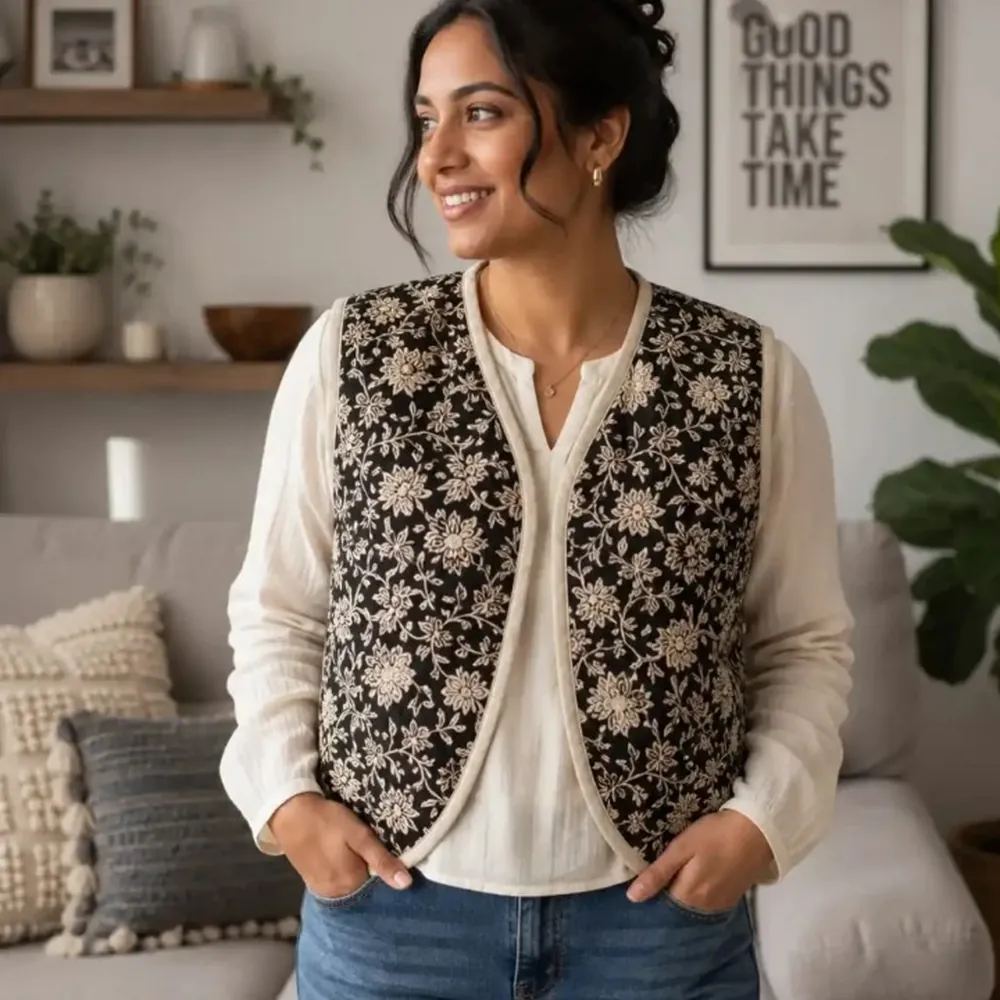
Skill Level: Intermediate
Time to Make: 2–3 days
A reversible vest gives you two completely different looks without sewing two separate garments, making it one of the most practical projects on this list. Since both sides will be visible, it’s worth paying close attention to the finishing details. Neatly trimmed seam allowances, carefully pressed edges, and accurate topstitching all make a noticeable difference when the vest is turned inside out.
Choosing fabrics that complement each other instead of matching perfectly also gives you more outfit options throughout the year.
If you’re quilting your own clothes, Aurifil 50 wt Cotton Thread is a dependable choice that creates smooth seams without adding unnecessary bulk.
3. Sewing a Quilted Vest for Free
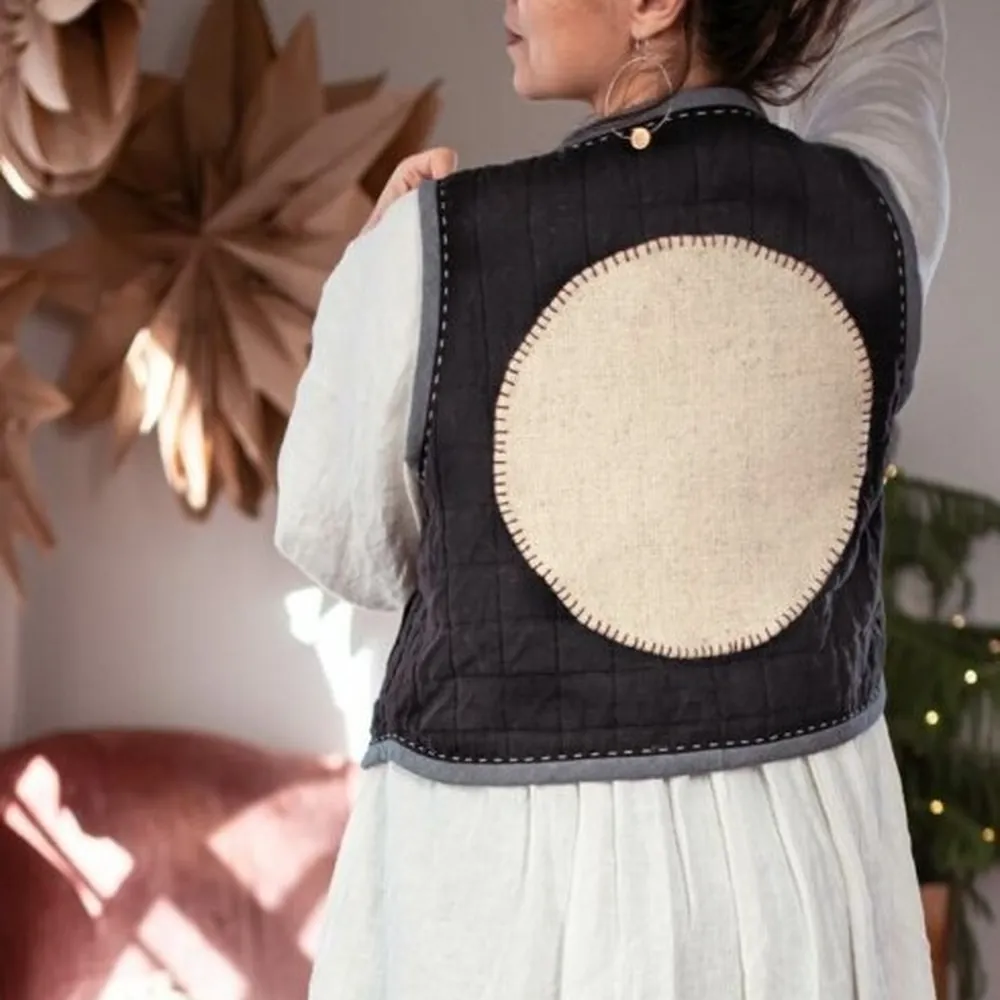
Skill Level: Intermediate
Time to Make: 2–3 days
Drafting your own vest might sound intimidating at first, but this tutorial breaks the process into manageable steps that make it feel much more approachable. Instead of relying on a pre-made pattern, you’ll learn how to create a vest that suits your own measurements and style.
Before reaching for your favorite fabric, make a quick test version using inexpensive muslin or leftover cotton. Trying on a sample first gives you the freedom to adjust the neckline, armholes, or length before cutting into fabrics you really love.
4. Heavenly Charms Vest Quilt Pattern
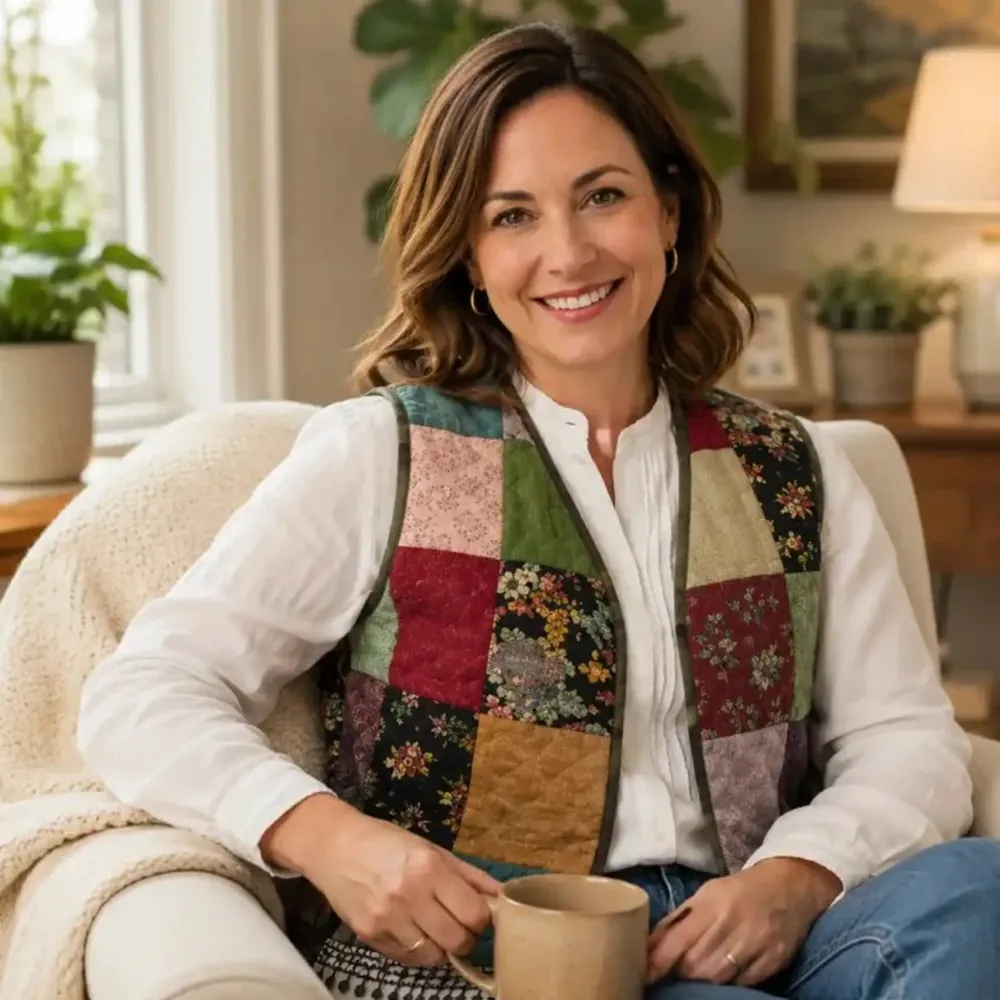
Skill Level: Intermediate
Time to Make: Several days
This pattern blends traditional quilting with wearable sewing, creating a vest that looks right at home in both your wardrobe and your quilting collection. If you’re using pieced fabrics, think about where the patchwork will fall once the garment is assembled. A favorite block can easily disappear into a side seam if you don’t plan the layout before cutting.
Taking time to arrange the pattern pieces across your quilted fabric helps showcase the designs you’ve worked so hard to create.
A Mini Oliso Project Iron is especially handy during garment sewing because you can press each seam as you go without leaving your sewing table. Those small pressing breaks help everything come together much more neatly.
5. Free Quilted Vest Pattern for Kids with Picnic Wovens Fabrics
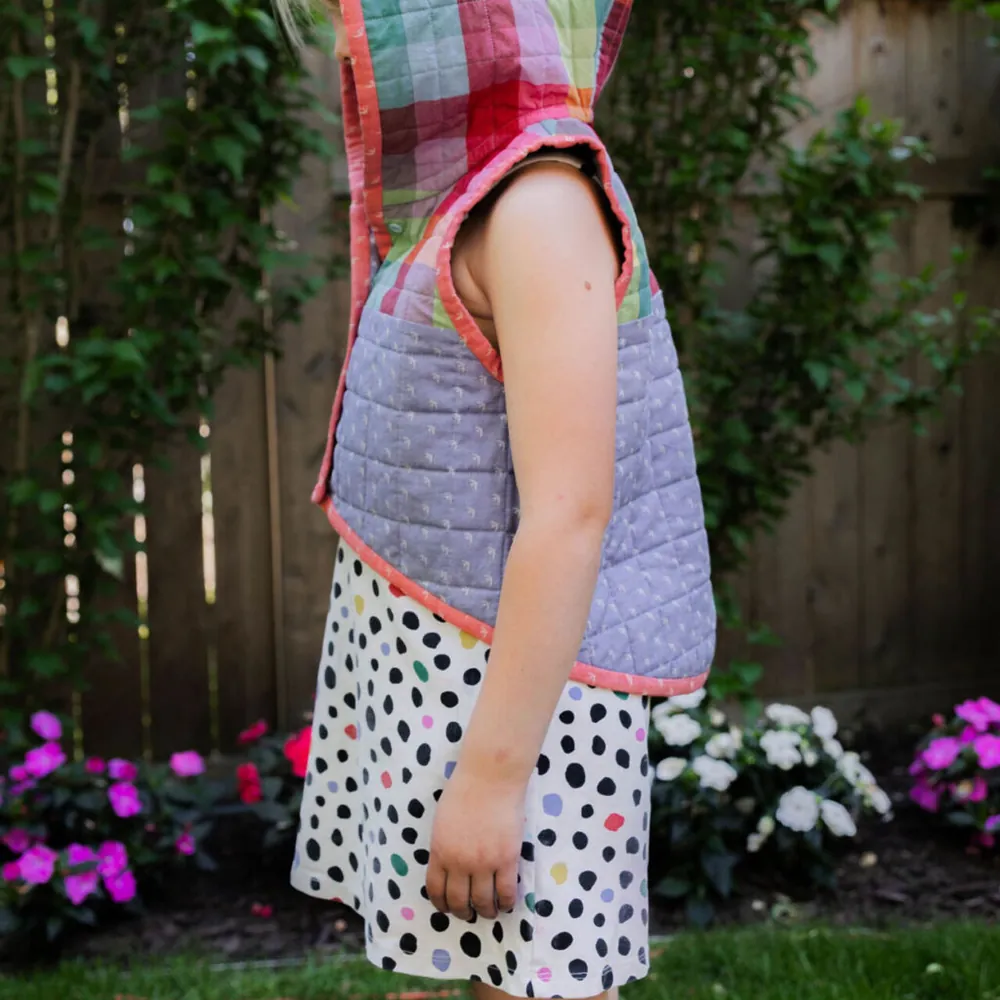
Skill Level: Beginner
Time to Make: 1–2 days
This children’s vest is a great reminder that smaller projects are often the perfect place to build garment-sewing confidence. Since the pieces come together fairly quickly, you can focus on improving your accuracy without feeling overwhelmed by a larger project.
Woven fabrics with subtle texture add plenty of interest on their own, so there’s no need to overcomplicate the quilting design. Plus, simple straight-line quilting lets the fabric remain the star and creates a vest that’s comfortable enough for active little ones to wear throughout the day.
Fall sewing season doesn’t stop at pumpkins and leaves. If you’re getting ready for celebrations too, these fall sewing projects are worth adding to your list.
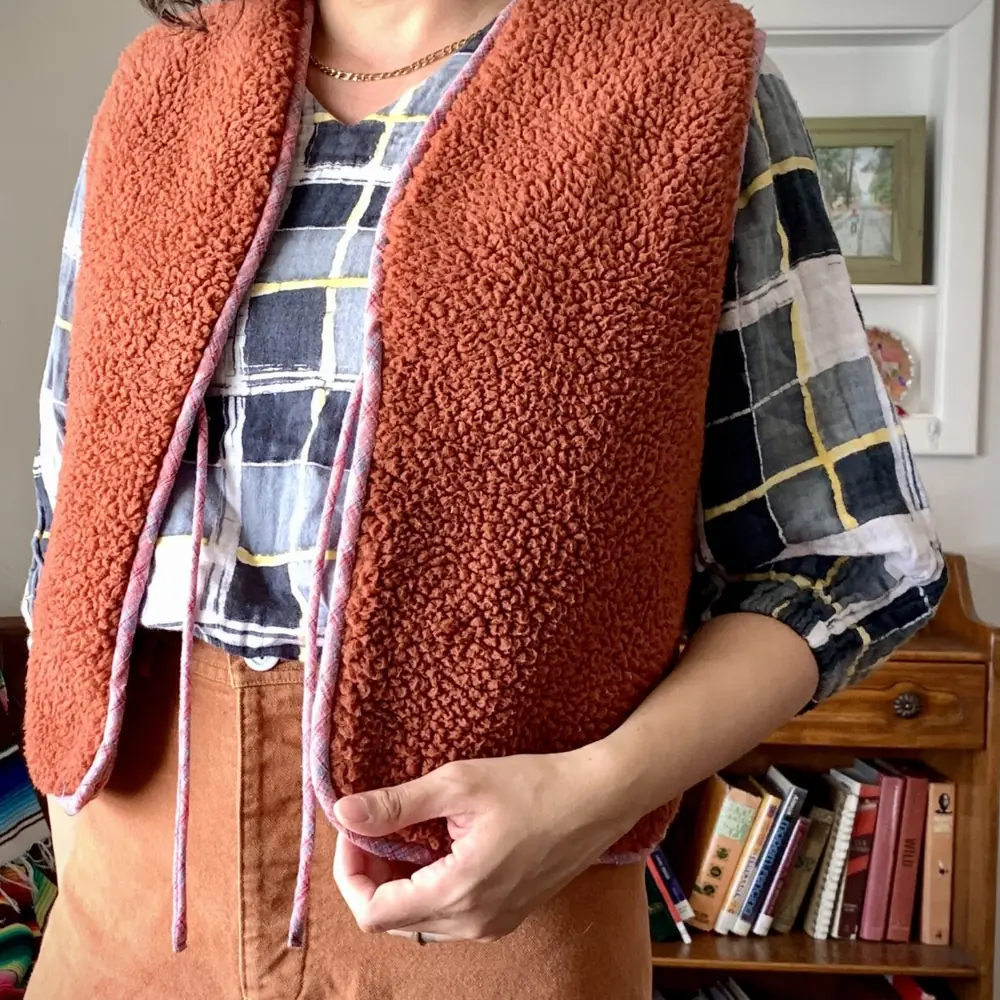
6. Free Sherpa Quilted Vest Pattern + Tutorial
Skill Level: Intermediate
Time to Make: 2–3 days
Adding sherpa lining transforms a lightweight quilted vest into something wonderfully cozy without making the construction overly difficult. Because sherpa has more loft than standard quilting cotton, reducing bulk becomes especially important around the neckline and armholes.
Grading your seam allowances before turning the vest right side out helps those curved edges sit much more smoothly. It’s one of those finishing techniques that takes only a few extra minutes but gives the garment a noticeably cleaner look.
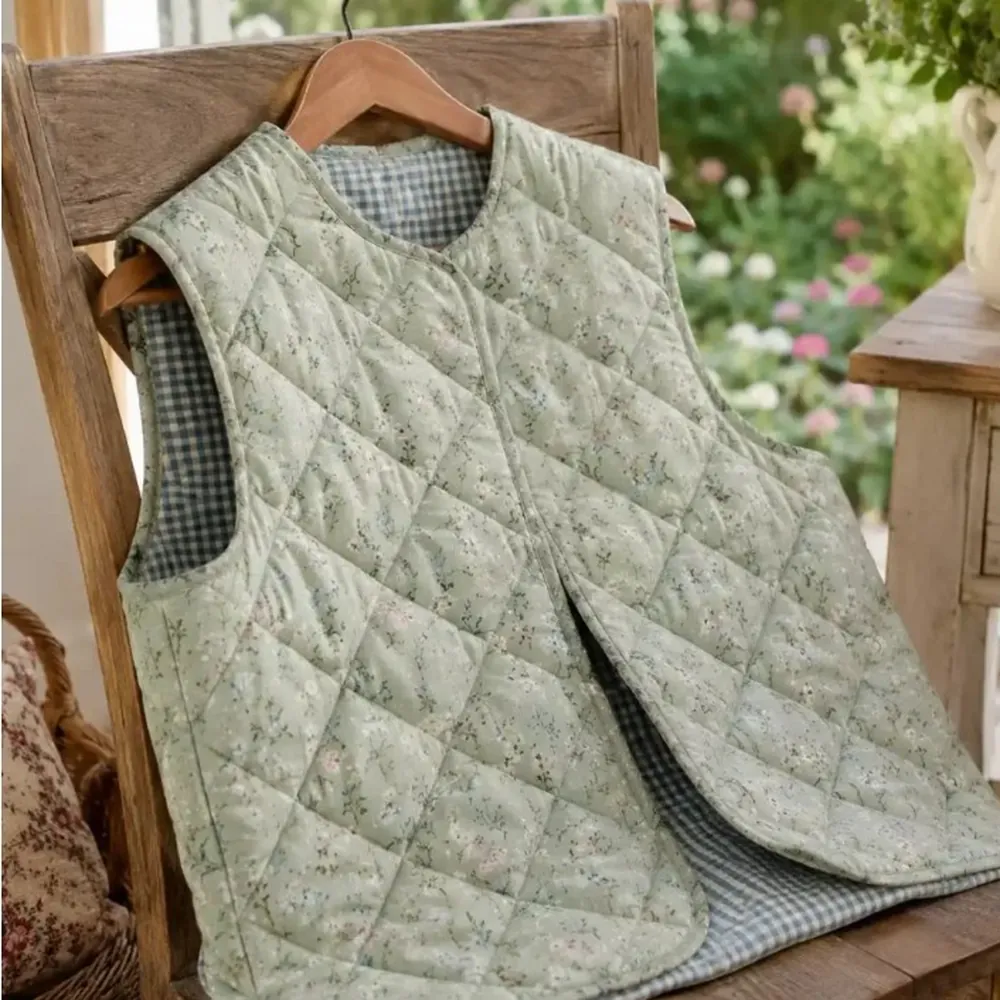
7. Easy Quilted Vest Pattern
Skill Level: Intermediate
Time to Make: 2–3 days
Adding sherpa lining transforms a lightweight quilted vest into something wonderfully cozy without making the construction overly difficult. Because sherpa has more loft than standard quilting cotton, reducing bulk becomes especially important around the neckline and armholes.
Grading your seam allowances before turning the vest right side out helps those curved edges sit much more smoothly. It’s one of those finishing techniques that takes only a few extra minutes but gives the garment a noticeably cleaner look.
If you’re sewing through multiple quilted layers, a sharp pair of scissors makes trimming seam allowances much easier. Karen Kay Buckley Perfect Scissors stay comfortable in your hand and give clean, accurate cuts right to the end of the project.
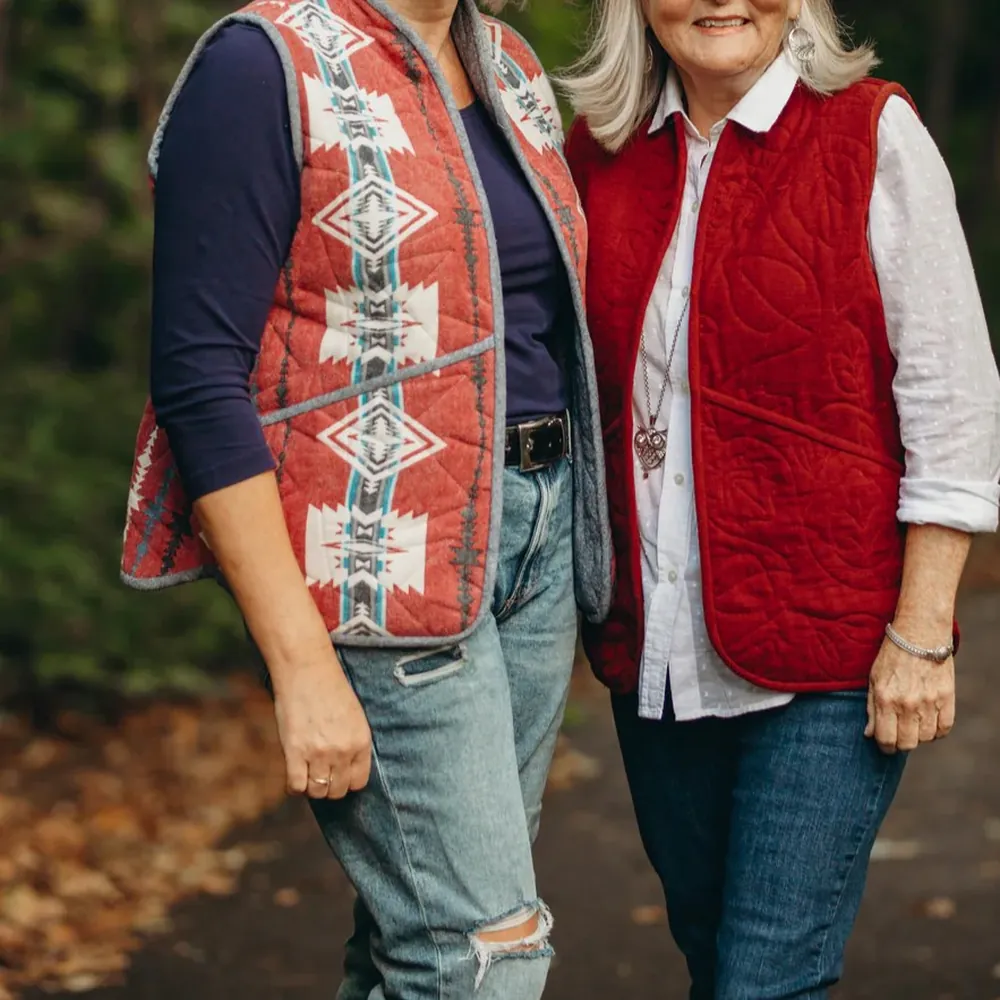
8. Beginner Quilted Vest Pattern PDF Download
Skill Level: Beginner
Time to Make: 1–2 days
If you’ve never sewn a quilted garment before, this pattern is a comfortable place to begin. The instructions are written with beginners in mind, helping you build confidence as each step comes together.
Instead of rushing through the project, take a moment after each major section to give your work a good press. Pressing as you sew keeps the layers flat, makes topstitching easier, and helps the finished vest hold its shape beautifully.
You know, Halloween is the perfect excuse to pull out your favorite spooky fabrics. Find even more inspiration in our collection of Halloween sewing projects.
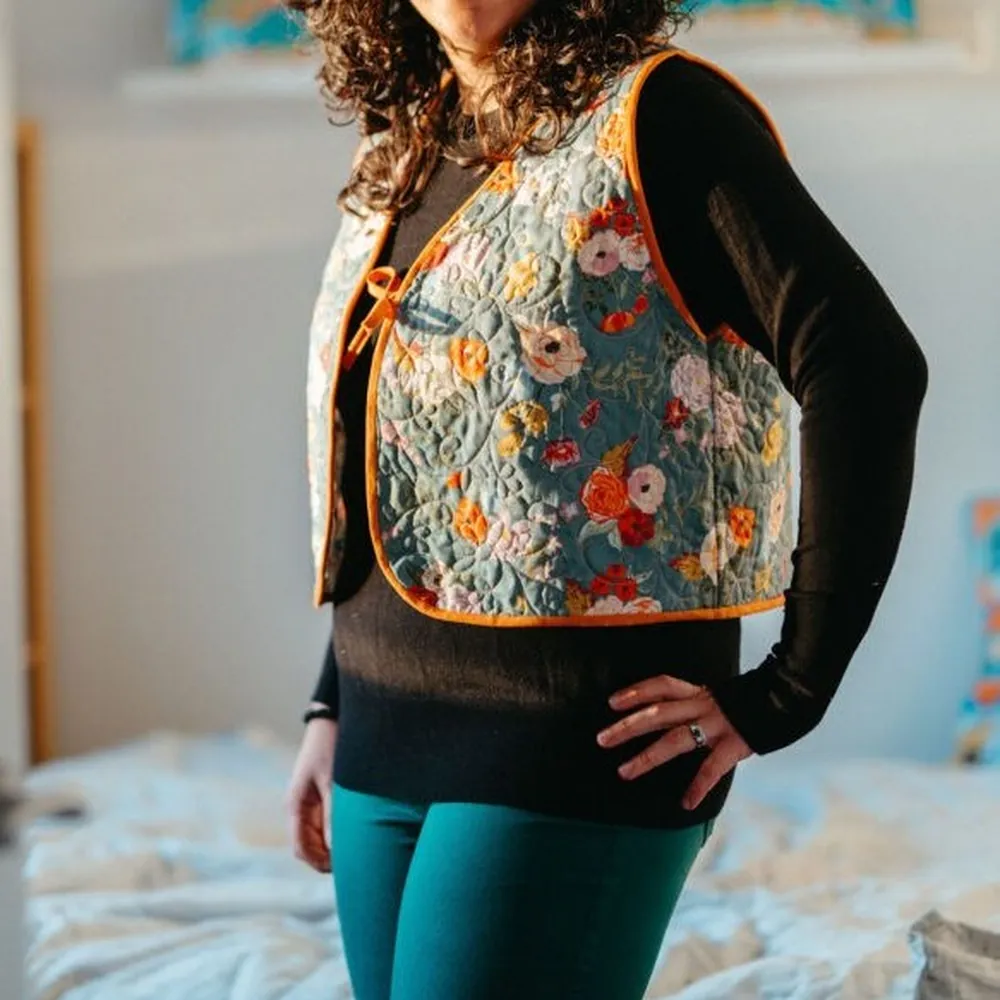
9. Free Quilted Vest with Winged Melody Fabric Tutorial
Skill Level: Intermediate
Time to Make: 2–3 days
Large-scale prints deserve a little extra planning, and this tutorial shows just how effective thoughtful fabric placement can be. Before cutting, spread your quilted fabric out and position the pattern pieces until you’re happy with what will appear across the front of the vest.
Taking a few minutes to center a favorite motif or keep matching prints balanced from side to side makes the finished garment feel carefully designed. Those details may seem small at first, but they’re often the first things people notice.
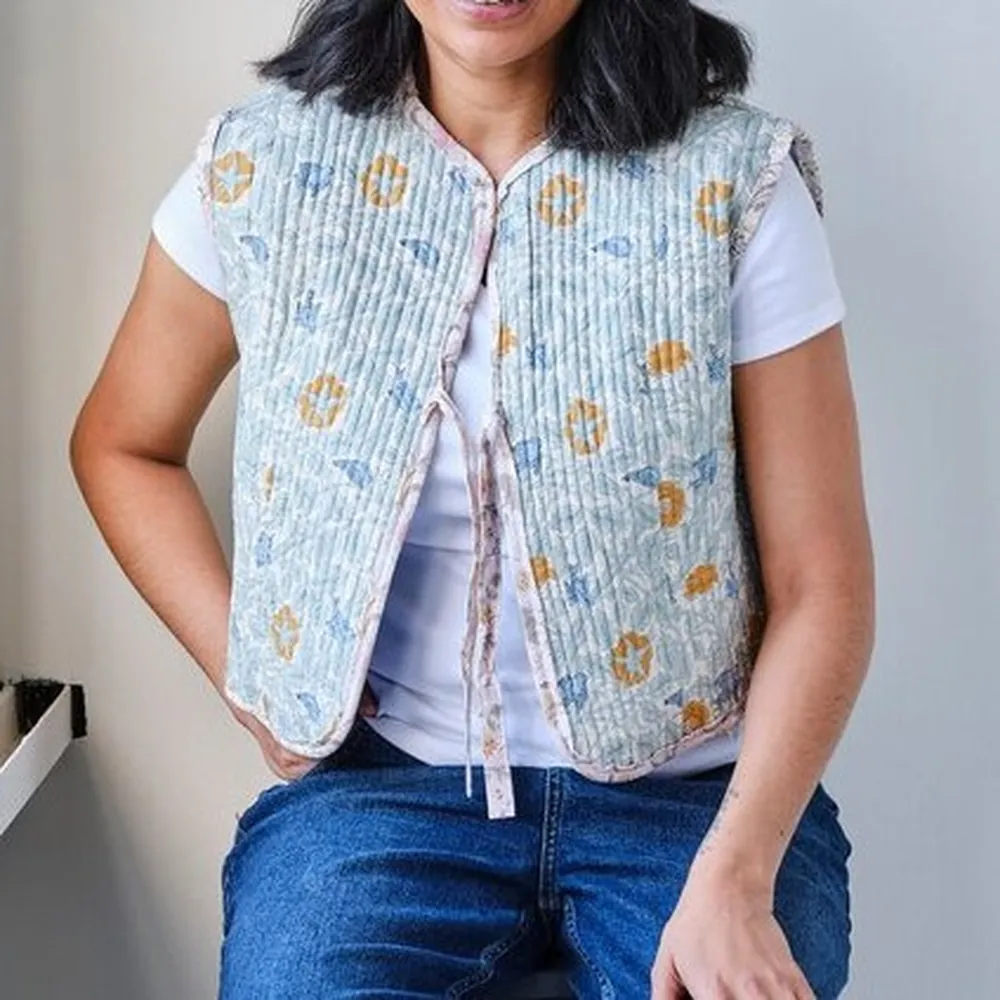
10. How to Sew a Quilted Waistcoat Step-by-Step
Skill Level: Beginner to Intermediate
Time to Make: 1–2 days
Sometimes seeing each stage of construction laid out in order is all it takes to make garment sewing feel approachable. This step-by-step guide keeps the process simple, making it a great choice if you’re ready to move beyond quilts and home décor.
As you assemble the vest, pay close attention to the armholes. A smooth curve is much easier to achieve if you sew slowly and clip the seam allowance where needed before turning the fabric. Those extra few minutes give the finished edges a much cleaner appearance.
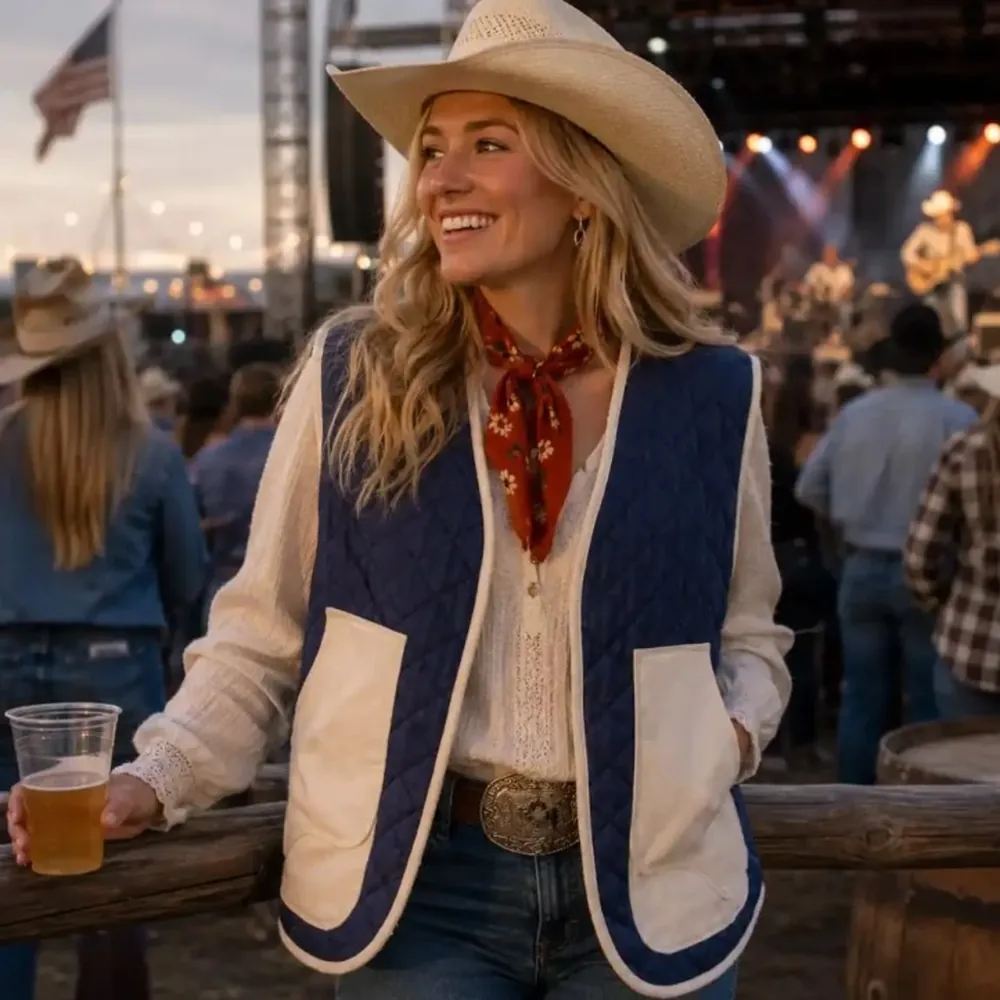
11. Winona Quilted Vest PDF Pattern
Skill Level: Intermediate
Time to Make: 2–3 days
The Winona Vest has an easy-to-wear style that fits naturally into everyday wardrobes. It layers comfortably over lightweight tops in spring and fall, then slips over sweaters once the weather turns cooler. Before choosing your fabrics, think about the clothes you’ll wear with the vest most often.
Pulling a few favorite outfits from your closet while you’re planning colors makes it much easier to create a garment you’ll reach for regularly instead of saving for special occasions.
If you’re quilting your own fabric for a vest like this, a walking foot is well worth using. It helps feed all the layers evenly, reducing shifting and keeping your quilting lines smooth from beginning to end.
Helpful Tips Before You Start
Choose fabrics with similar weights whenever possible. Quilting cottons work beautifully together because they behave the same during cutting, piecing, and sewing. Mixing fabrics that vary too much in thickness can make the vest harder to assemble and affect how it hangs once it’s finished.
Think about the inside of the vest just as much as the outside. A soft lining or neatly finished seams make a noticeable difference every time you put it on, especially if you’ll be wearing it over short sleeves.
Before you begin quilting the fabric, mark the center front and center back on each pattern piece. Keeping those reference points visible makes it much easier to position your quilting design and avoid accidentally cutting through an area you’d hoped to feature.
Common Mistakes to Avoid
One mistake many sewists make is quilting the fabric after cutting out the pattern pieces. Quilting first gives the fabric better stability and helps prevent the pieces from changing shape as you sew.
Another common issue is choosing a batting that’s too lofty. Thick batting can create bulky seams around the neckline and armholes, making the vest less comfortable to wear. A low-loft cotton batting is often the better choice for garments.
Finally, don’t skip trying the vest on before adding the binding or final edge finish. Checking the fit at that stage gives you one last opportunity to make small adjustments before the project is complete.
Once you’ve finished your first one, you’ll probably find yourself planning another in a different fabric, color, or quilting style. And don’t forget to check out these quilted housecoat patterns either!