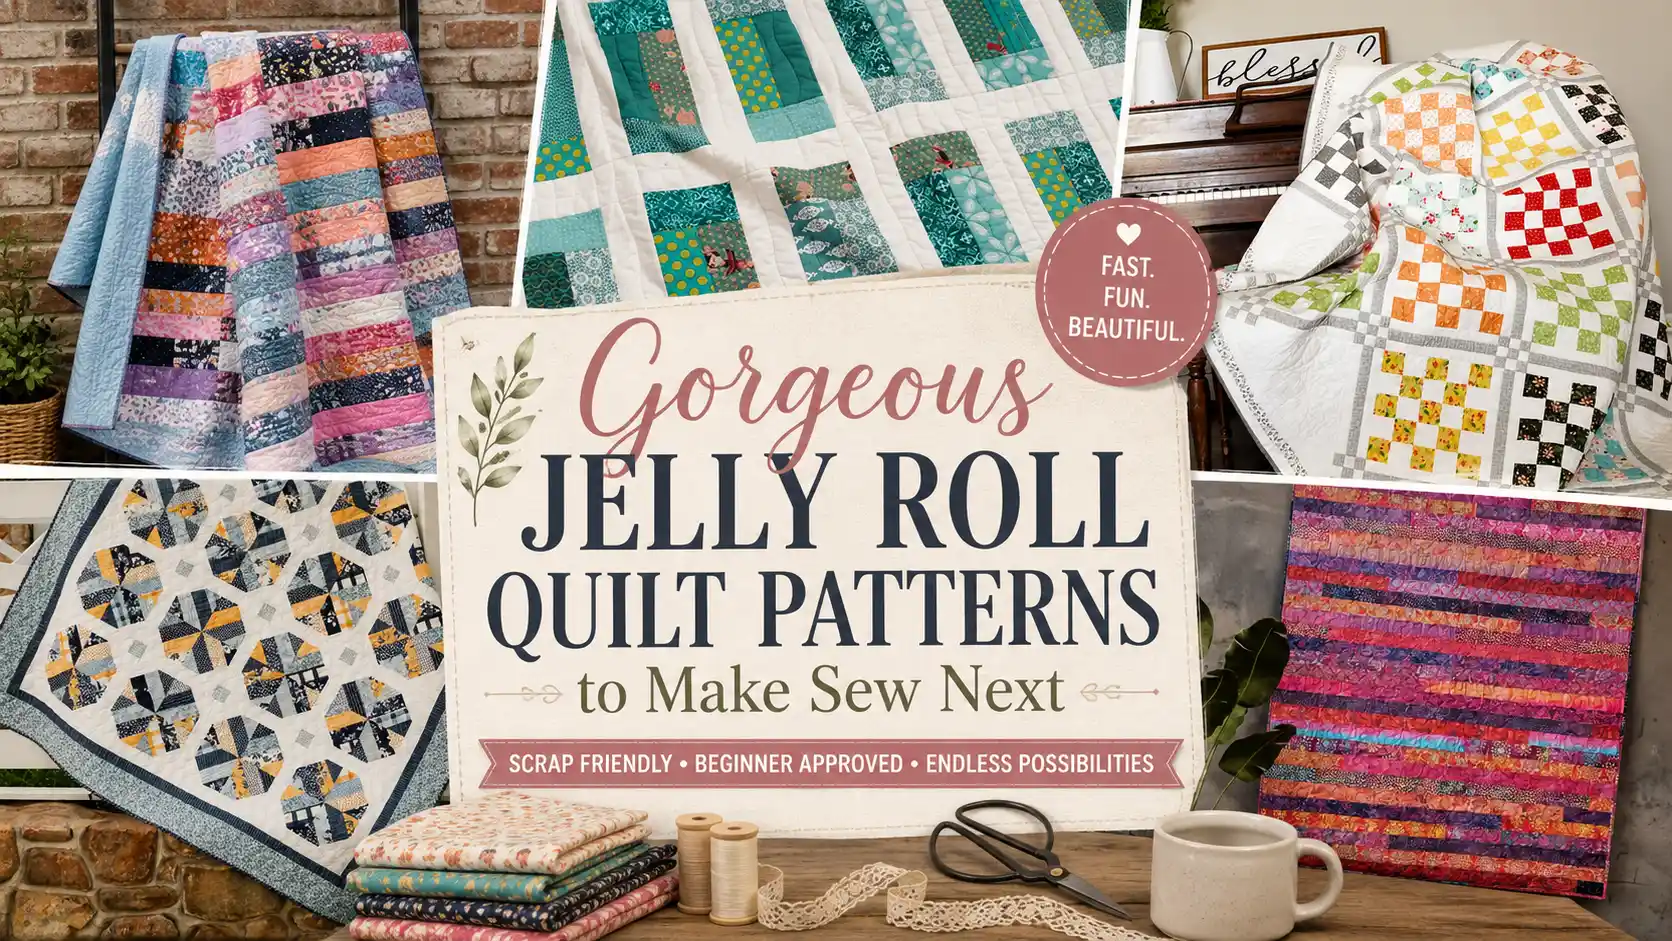
If there’s one quilting supply that never seems to stay on the shelf for long, it’s a jelly roll. Those neatly coordinated strips take the guesswork out of fabric selection and make it easy to start sewing without spending hours planning a color palette. They’re also perfect for everything from quick weekend quilts to larger projects you’ll treasure for years. If you’ve been saving a jelly roll for the right pattern, these beautiful quilt ideas might be exactly the inspiration you need.
Things You’ll Need
- Rotary cutter with a self-healing cutting mat
- High-quality cotton fabric bundles
- Acrylic quilting rulers for precise shapes
- Sewing machine with quilting foot attachment
- Soft batting for a cozy finished feel
Beautiful Jelly Roll Quilt Patterns Worth Sewing
Looking for the pattern or tutorial? You’ll find the source link right below each image. Some featured projects are shared for inspiration, so not every image includes a step-by-step tutorial!
1. Free Jelly Roll Quilt Pattern
Skill Level: Beginner
Time to Make: Weekend project
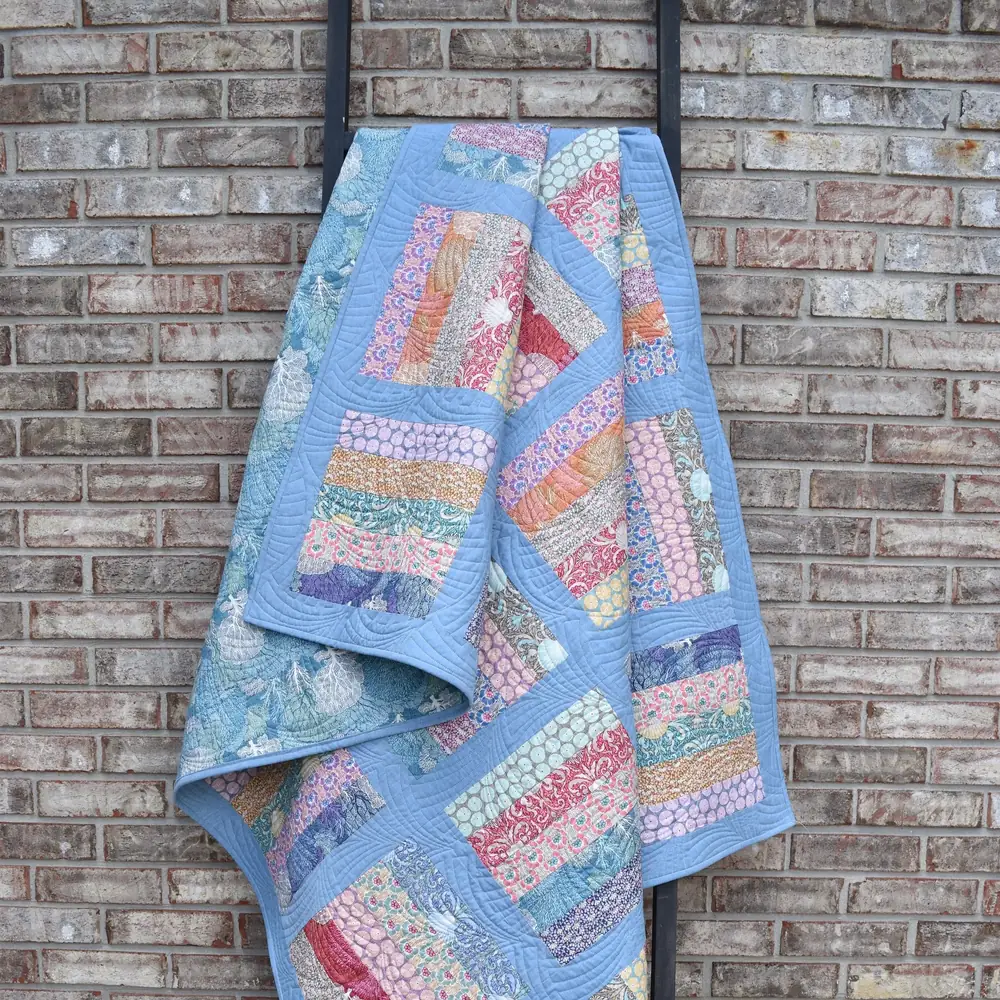
Sometimes the simplest quilts become the ones you use the most, and this pattern is a great example. The strip layout lets the fabrics do most of the work, creating plenty of movement without complicated piecing.
Before sewing your strips together, spread them across the floor or a design wall and look for fabrics that are too similar sitting side by side. Rearranging just a few strips helps the colors travel more naturally across the quilt and gives the finished top a balanced look that’s pleasing from every angle.
2. Free Jelly Roll Quilt Pattern (Strips to Log Cabin)
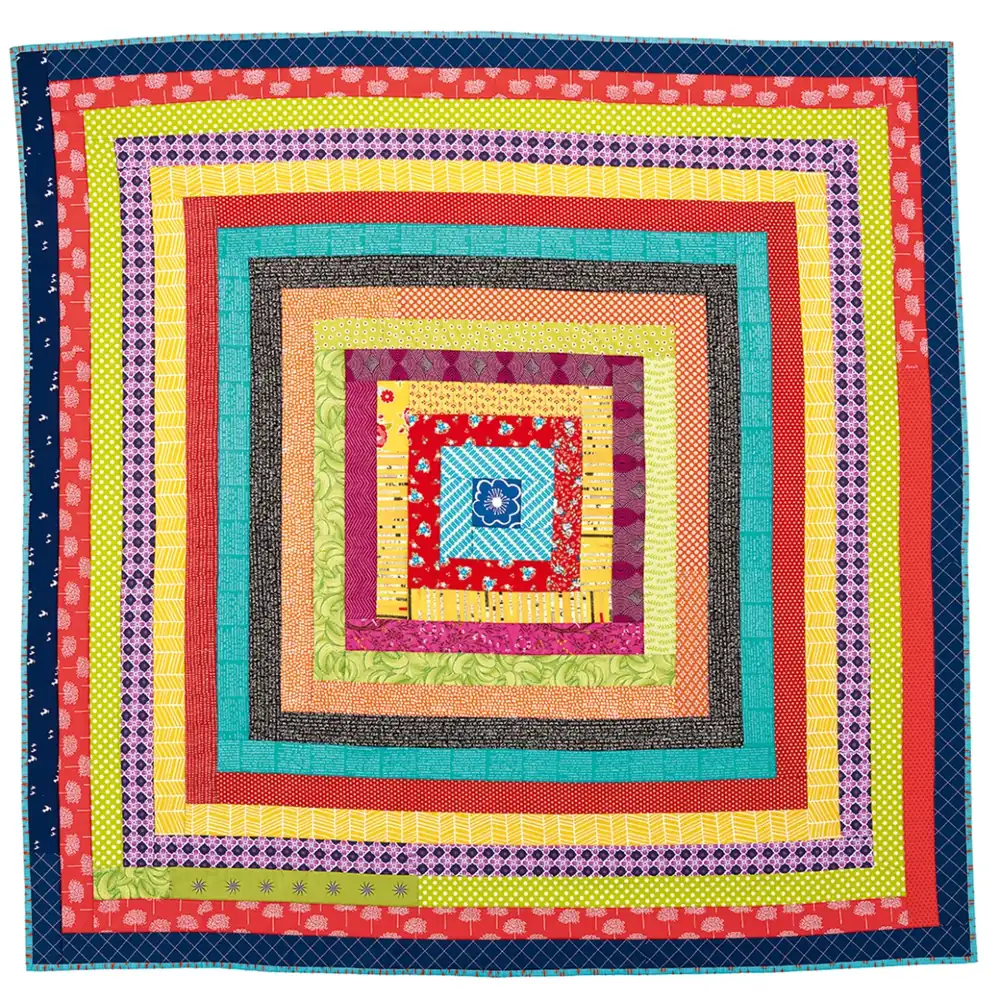
Skill Level: Beginner to Intermediate
Time to Make: 2–3 days
Log Cabin quilts have been loved for generations, and using jelly roll strips makes the process much quicker than cutting every piece yourself. Since each round builds around a center square, keeping your seam allowance consistent becomes even more important as the blocks grow.
Take a moment to check the size of each completed block before moving on. Catching a small mistake early is much easier than trying to ease several oversized blocks together later in the quilt.
3. Jelly Roll Quilt Pattern with Patchwork
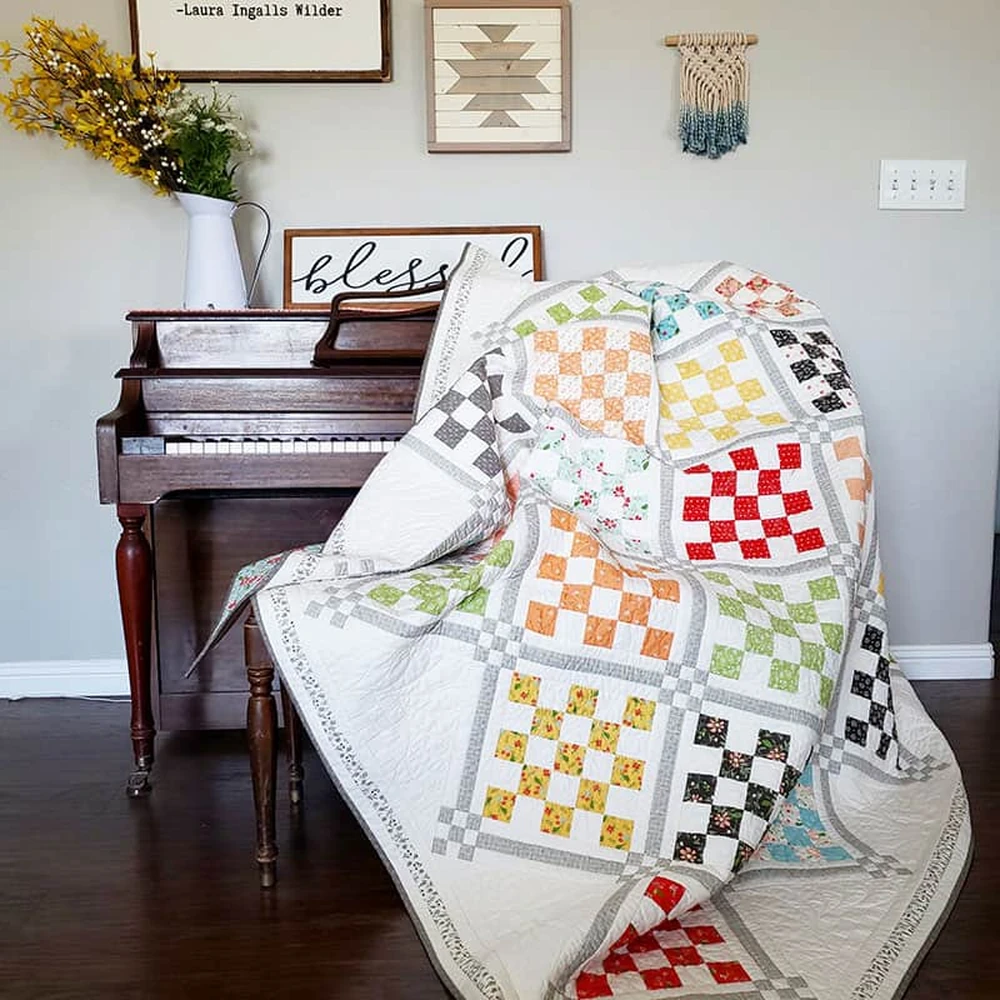
Skill Level: Intermediate
Time to Make: Several days
Patchwork quilts always have a timeless feel, and jelly rolls give you an easy way to enjoy that classic look with far less cutting. This pattern has enough variety to keep every section interesting without feeling overwhelming.
As you’re sewing, press each row before joining it to the next. It only takes a few extra moments, but flatter seams make the quilt easier to assemble and help the finished top lie beautifully once it’s quilted.
You know, Halloween is the perfect excuse to pull out your favorite spooky fabrics. Find even more inspiration in our collection of Halloween sewing projects.
4. Strip Quilt Pattern Reboot Jelly Rolls
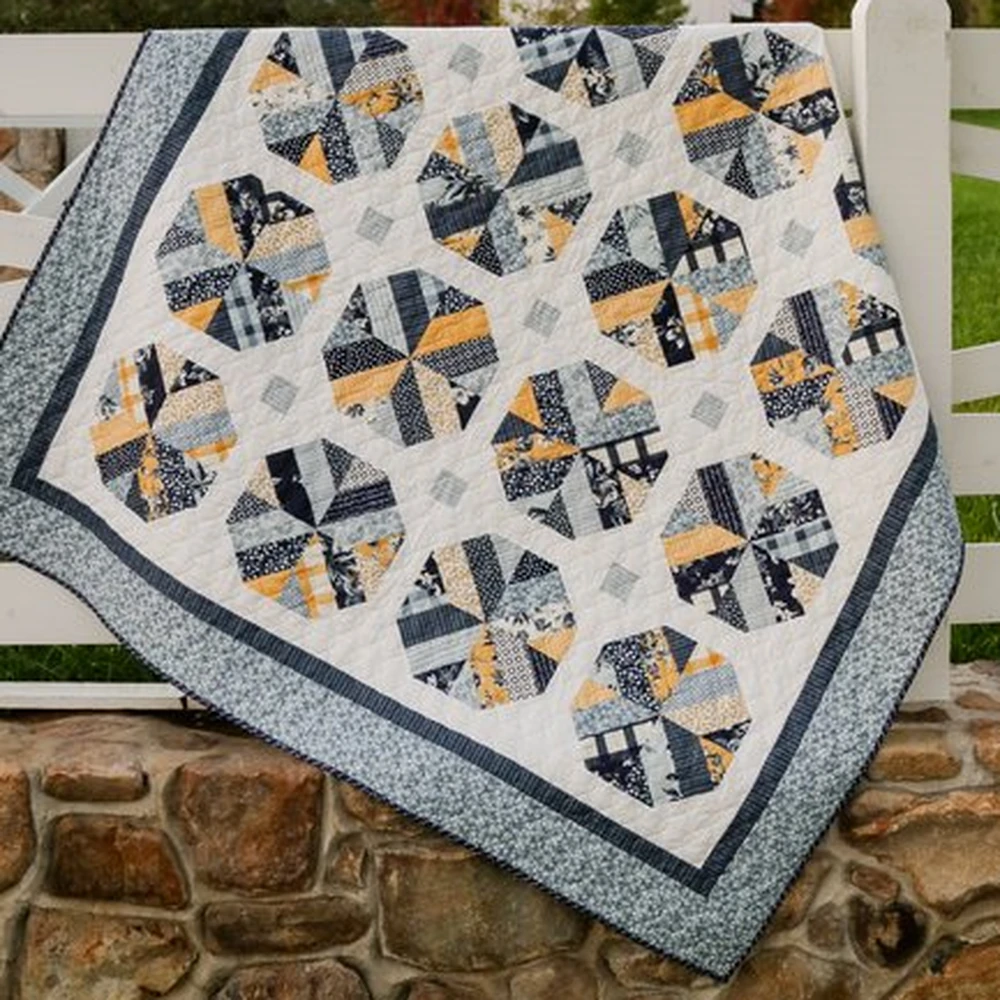
Skill Level: Beginner
Time to Make: Weekend project
Strip quilts are wonderfully relaxing to sew because the rhythm develops quickly. After the first few rows, you can simply enjoy the process without constantly checking complicated instructions.
If your jelly roll includes a mix of bold and subtle prints, try alternating them throughout the quilt. That little bit of planning prevents one area from becoming too busy and allows every fabric to have its moment.
A magnetic pin dish is one of those simple tools you’ll appreciate during projects with lots of small pieces. It keeps pins exactly where you need them and saves hunting around your sewing table.
5. Jelly Roll Rail Fence Free Quilt
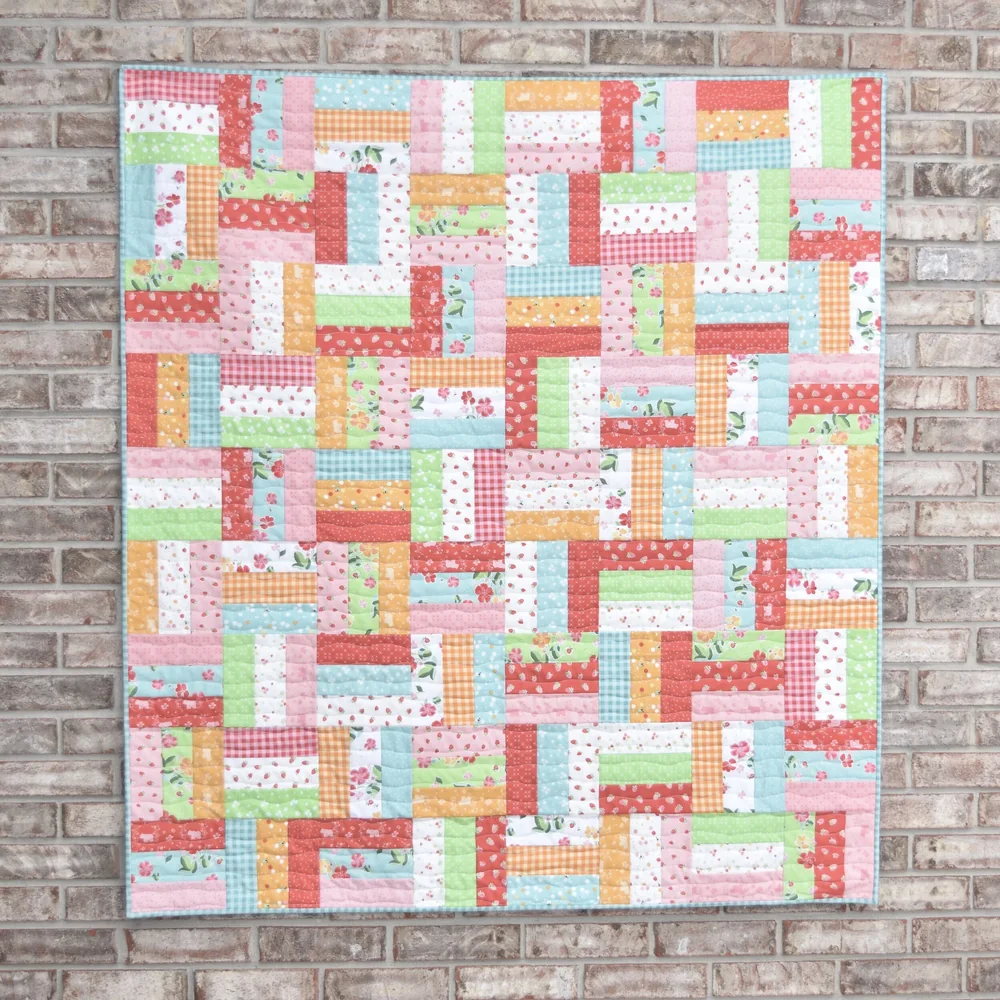
Skill Level: Beginner
Time to Make: 2–3 days
Rail Fence quilts have remained popular because they’re approachable, versatile, and surprisingly striking once the blocks come together. Rotating the blocks creates movement across the quilt without adding extra work at the sewing machine.
Before stitching rows together, step back and look at the layout from across the room. Viewing it from a distance often makes color placement much easier to judge than studying it up close. You should also try out these quilted vest patterns!
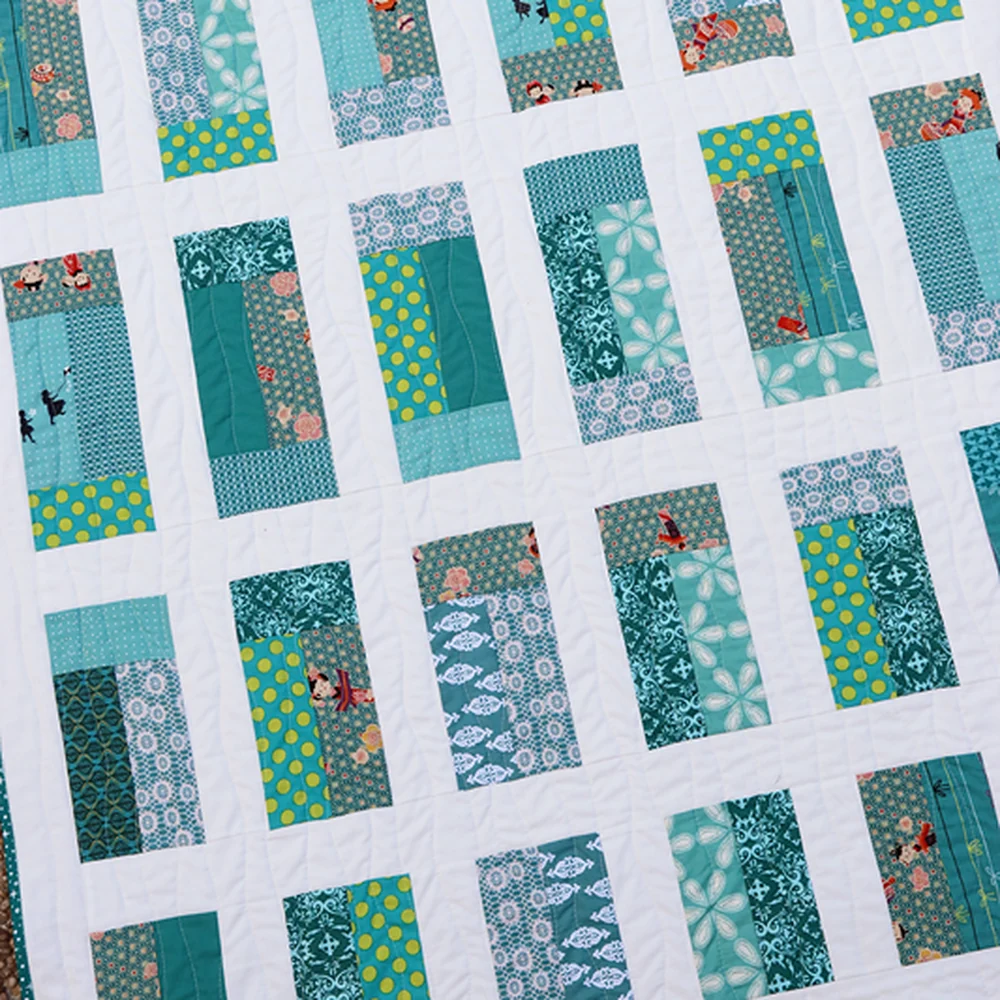
6. Window Panes Quilt Pattern Jelly Rolls
Skill Level: Intermediate
Time to Make: Several days
This pattern creates the feeling of looking through a series of framed windows, making it a lovely choice for jelly rolls with beautiful coordinated prints.
Strong contrast between the strips and the background helps that effect stand out, so don’t be afraid to pair lighter fabrics with a darker background or vice versa. That contrast is what gives the quilt its depth and keeps the design easy to appreciate from across the room.
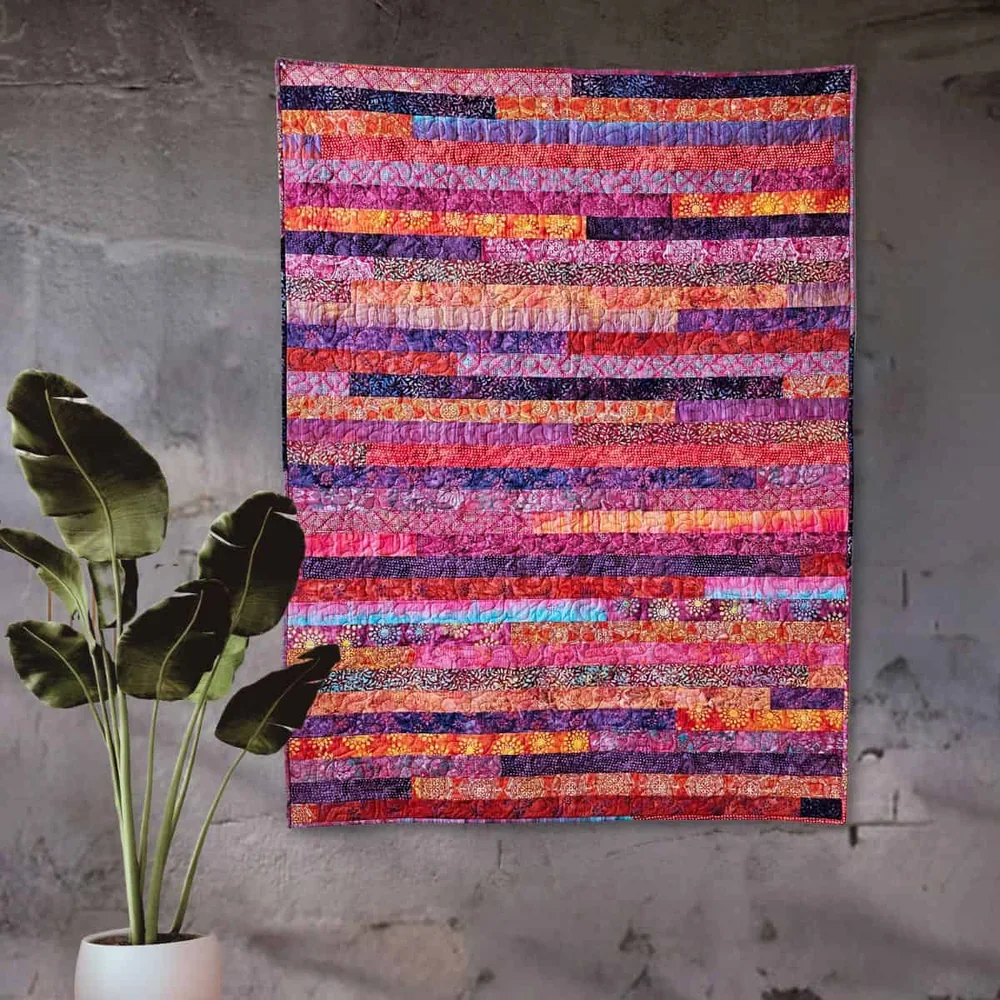
7. Colorful Jelly Roll Quilt
Skill Level: Beginner
Time to Make: Weekend project
Bright quilts have a cheerful energy that instantly lifts a room, and jelly rolls make it easy to achieve that look without second-guessing fabric combinations.
If your collection includes one or two particularly bold prints, scatter them across the quilt instead of grouping them together. Spacing those eye-catching fabrics throughout the layout helps draw your attention across the entire quilt instead of one small section.
If you’re working with smaller appliqué pieces, sharp embroidery scissors make trimming around curves much easier.
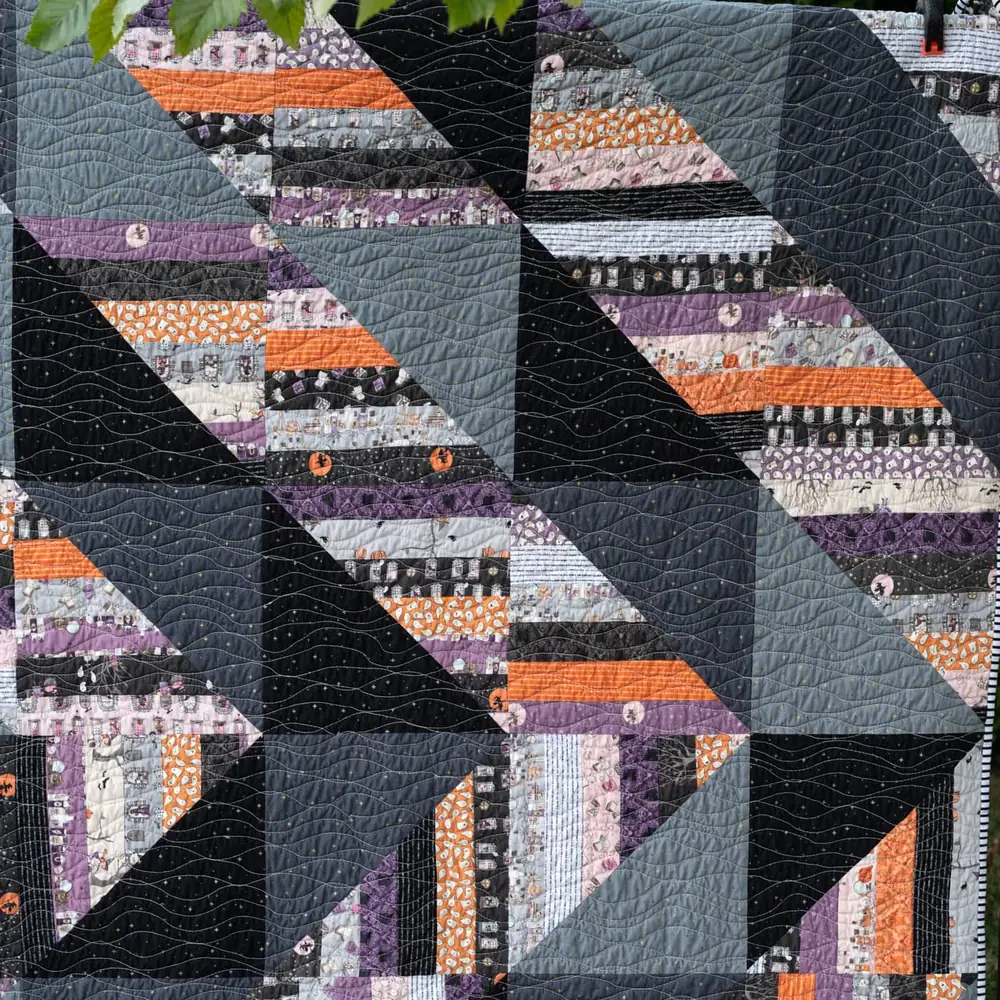
8. Scrappy Triangles Free Jelly Roll Quilt Pattern
Skill Level: Intermediate
Time to Make: 3–4 days
Triangle quilts always look more complicated than they really are, especially when jelly roll strips do much of the work for you. Accuracy matters most where the points meet, so trim each unit before sewing the next step.
Keeping everything the correct size makes matching those points much less stressful and gives the finished quilt a crisp, polished appearance that you’ll appreciate every time you unfold it.
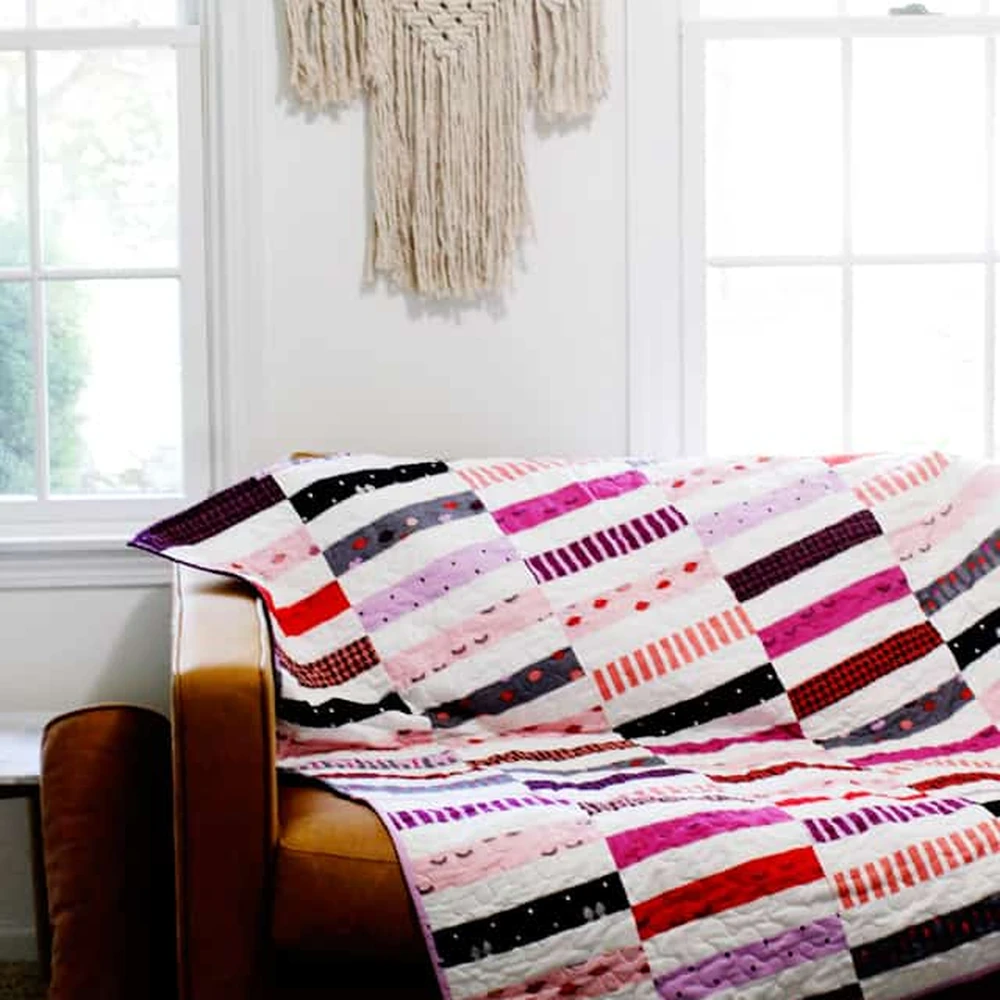
9. Jelly Roll Strip Quilt Pattern
Skill Level: Beginner
Time to Make: 2–3 days
If you’re introducing someone to quilting, this is the kind of project that builds confidence quickly. The straightforward construction leaves plenty of room to enjoy sewing without worrying about complex blocks.
One simple habit makes the process even smoother: keep similar strips clipped together before sewing. Staying organized saves time, especially if you’re working on the quilt over several evenings instead of finishing it all at once.
Fresh rotary blades make trimming repeated blocks much easier, especially when accuracy matters across an entire quilt.
10. Happy Stripes Jelly Roll Quilt
Skill Level: Beginner to Intermediate
Time to Make: Weekend project
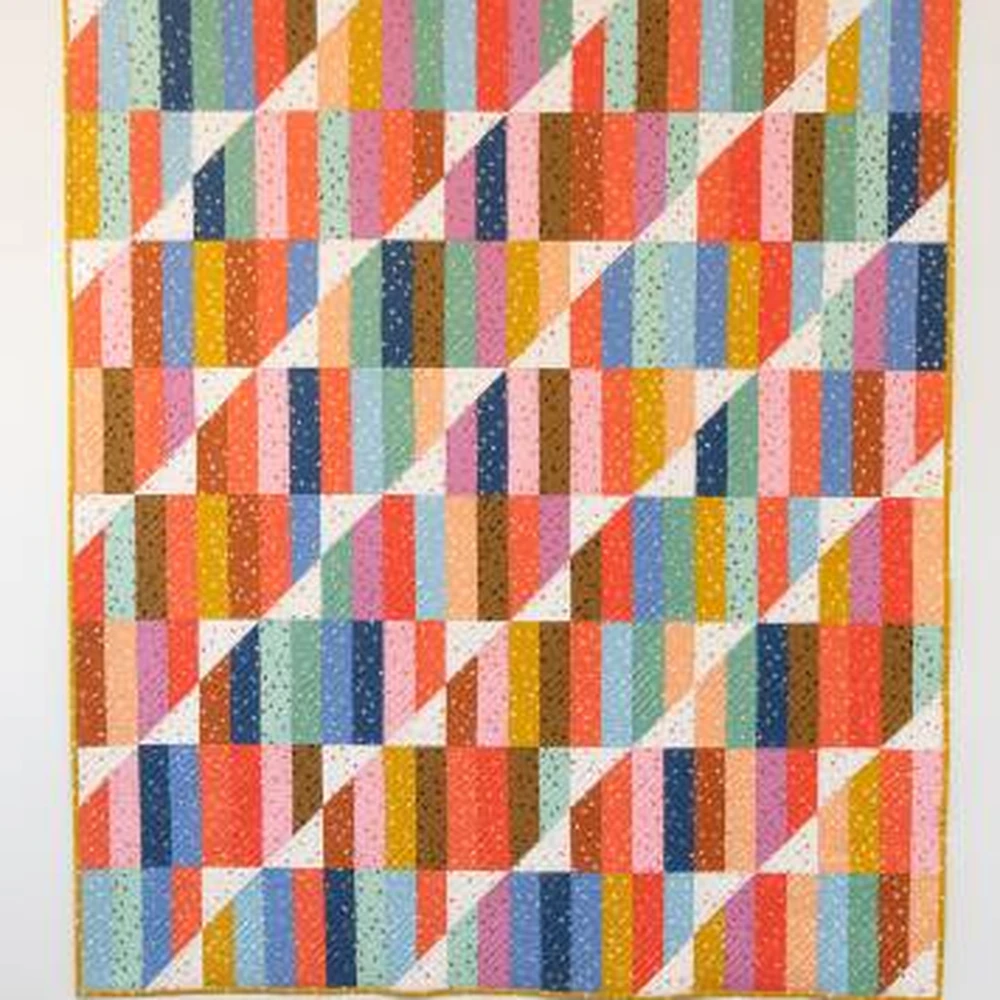
Some quilts simply make you smile, and this colorful striped design certainly lives up to its name. It’s a wonderful reminder that careful fabric placement often has a bigger impact than complicated piecing.
If you’re using a jelly roll with repeating colors, separate those strips before you begin so they don’t end up next to each other. Even a few small adjustments help the quilt feel more balanced from edge to edge. And if you’re getting ready for celebrations too, these fall sewing projects are worth adding to your list.
11. Shortcut Quilt Free Pattern – Jelly Roll Cabin
Skill Level: Beginner
Time to Make: Weekend project
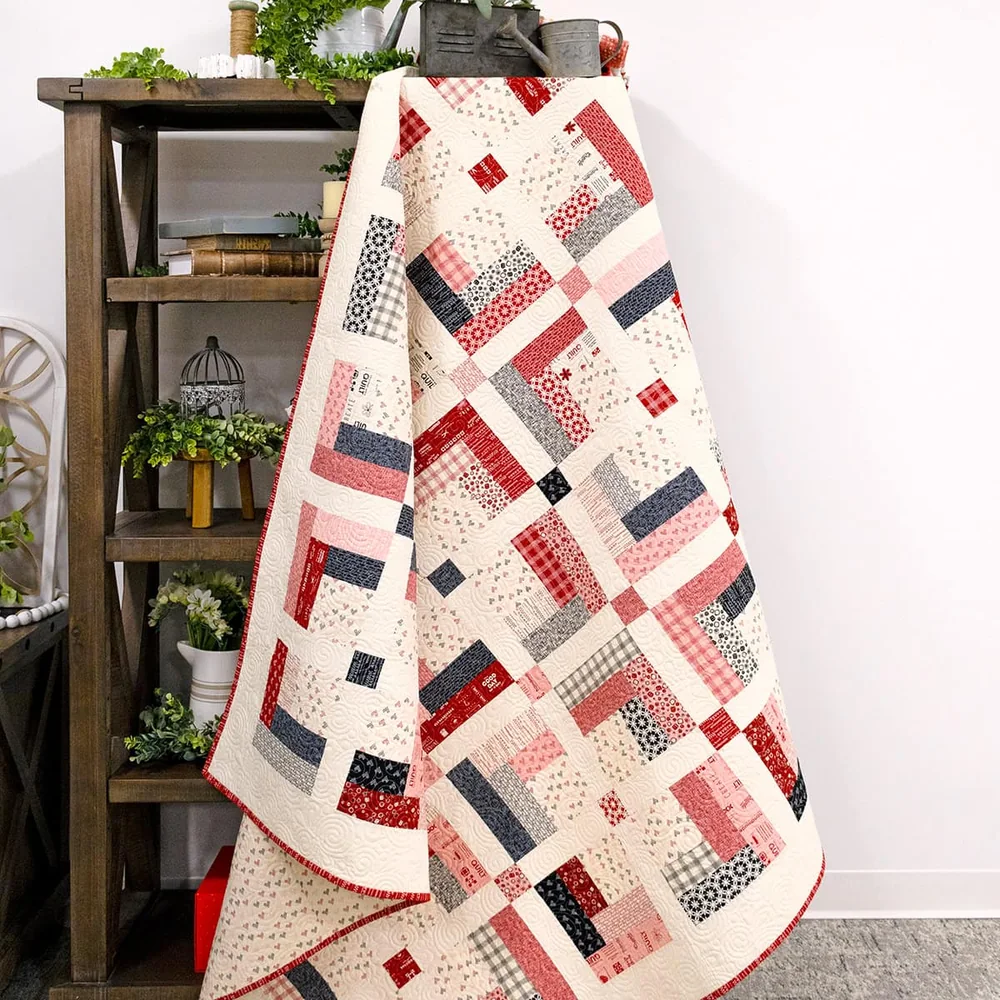
Quick quilts are always satisfying, especially when they still look detailed after they’re finished. This pattern combines the familiar feel of a cabin-style block with a construction method that keeps the project moving at a comfortable pace.
Once the quilt top is complete, leave it on your design wall overnight before adding borders. Looking at it again with fresh eyes often helps you notice anything you’d like to adjust before calling it finished.
If you’re working with lots of light fabrics, a fine-point fabric marking pencil makes it much easier to see your markings without leaving heavy lines behind.
Tips for Getting the Most from Your Jelly Rolls
Jelly rolls save time, but a little planning before you sew makes them even more enjoyable to work with. Open the roll and separate the strips before you begin instead of sewing straight from the bundle. It’s much easier to see how the colors interact and make small adjustments before stitching the first seam.
Keep your strips neatly stacked as you work. A simple fabric tray or shallow basket beside your sewing machine prevents everything from becoming tangled, especially during larger quilts with dozens of strips.
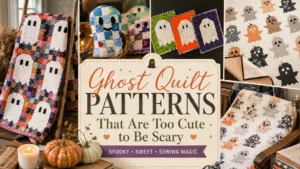
If you’re combining two different jelly rolls, compare the strip widths before sewing. Most manufacturers are very consistent, but checking first helps avoid surprises later in the project. And don’t forget to check out these ghost quilt patterns for Halloween!
A Few Things to Watch Along the Way
One of the easiest mistakes to make is stretching the strips while pressing. Let the iron lift and press instead of sliding it across the fabric, particularly if the strips have been cut on a slight bias.
Another common issue is sewing several strips together without checking that everything is staying straight. Every few seams, lay the pieced section flat to make sure it hasn’t started bowing. Catching that early is much easier than fixing it after the quilt top has grown.
Finally, don’t feel like every strip has to be used. If one fabric doesn’t seem to fit the rest of the quilt, set it aside for another project. A well-balanced quilt is always more satisfying than one that uses every strip simply because it came in the roll.
Jelly roll quilts are a wonderful reminder that beautiful quilts don’t have to be complicated. With a bundle of coordinated strips and a pattern that catches your eye, you’re already well on your way to your next favorite finish.