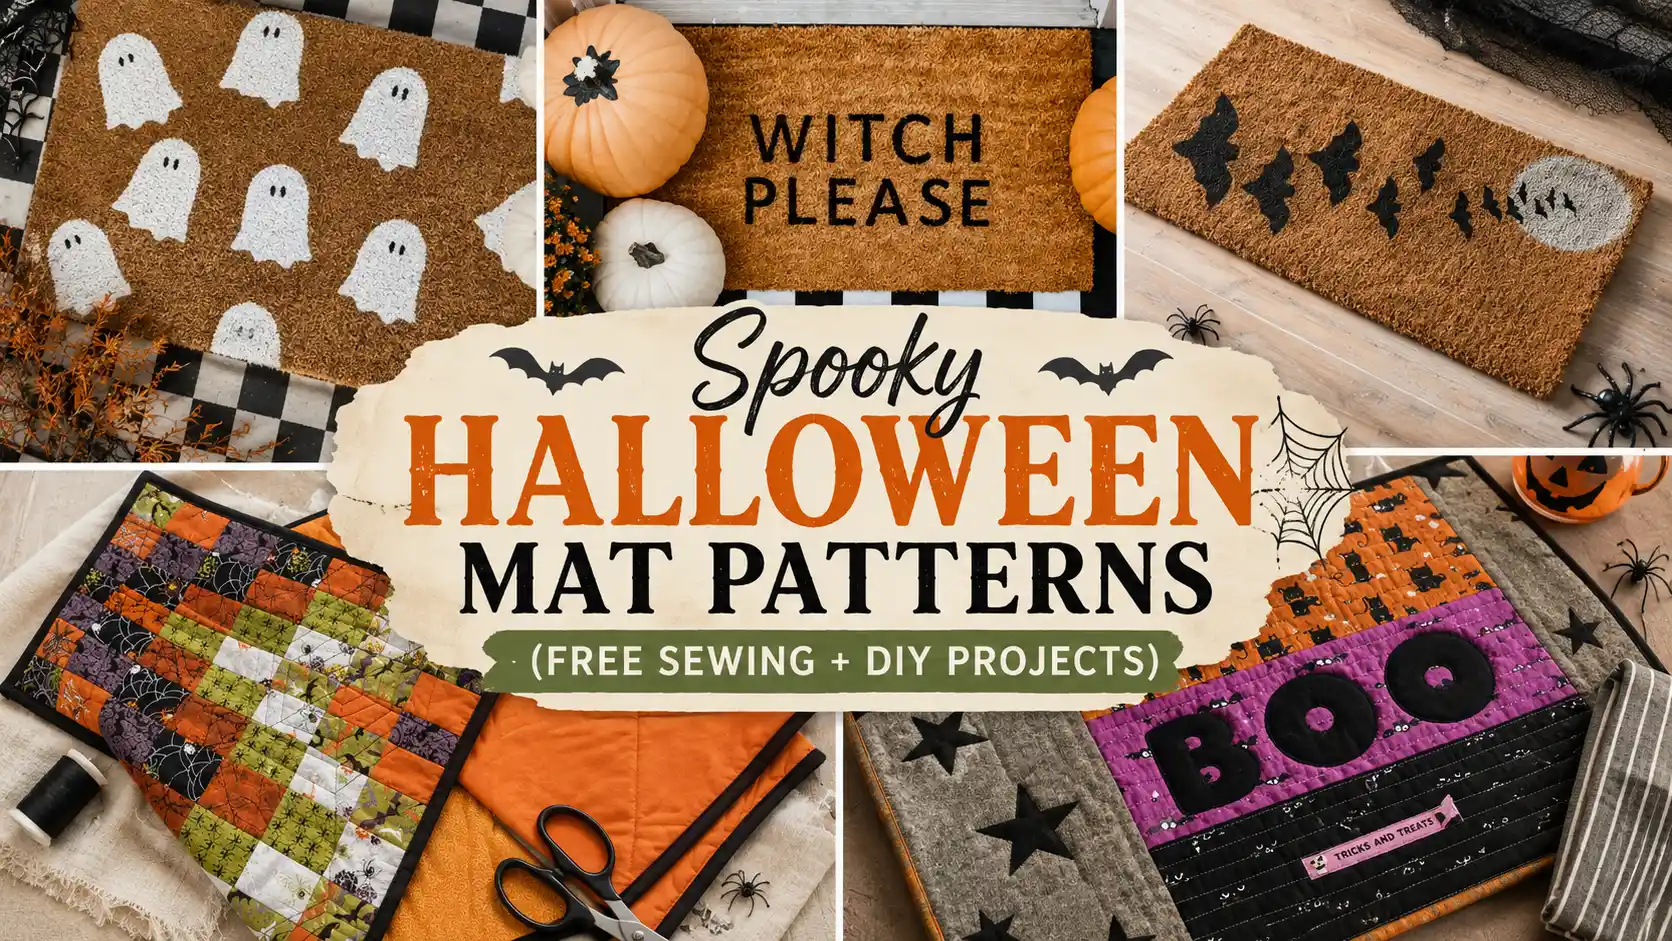
Halloween decorating doesn’t have to mean filling your home with expensive store-bought decorations. Sometimes a simple placemat, mug rug, or front door mat is all it takes to make the season feel a little more festive. These projects are quick enough to finish over a weekend, and they’re a great way to use supplies you may already have on hand. We’ve included a mix of Halloween mat sewing projects and easy DIY ideas, so there’s something here for both quilters and DIY enthusiasts!
Things You’ll Need
- Rotary cutter with a self-healing cutting mat
- High-quality cotton fabric bundles
- Acrylic quilting rulers for precise shapes
- Sewing machine with quilting foot attachment
- Soft batting for a cozy finished feel
Halloween Mat Projects You’ll Love Making
Looking for the pattern or tutorial? You’ll find the source link right below each image. Some featured projects are shared for inspiration, so not every image includes a step-by-step tutorial!
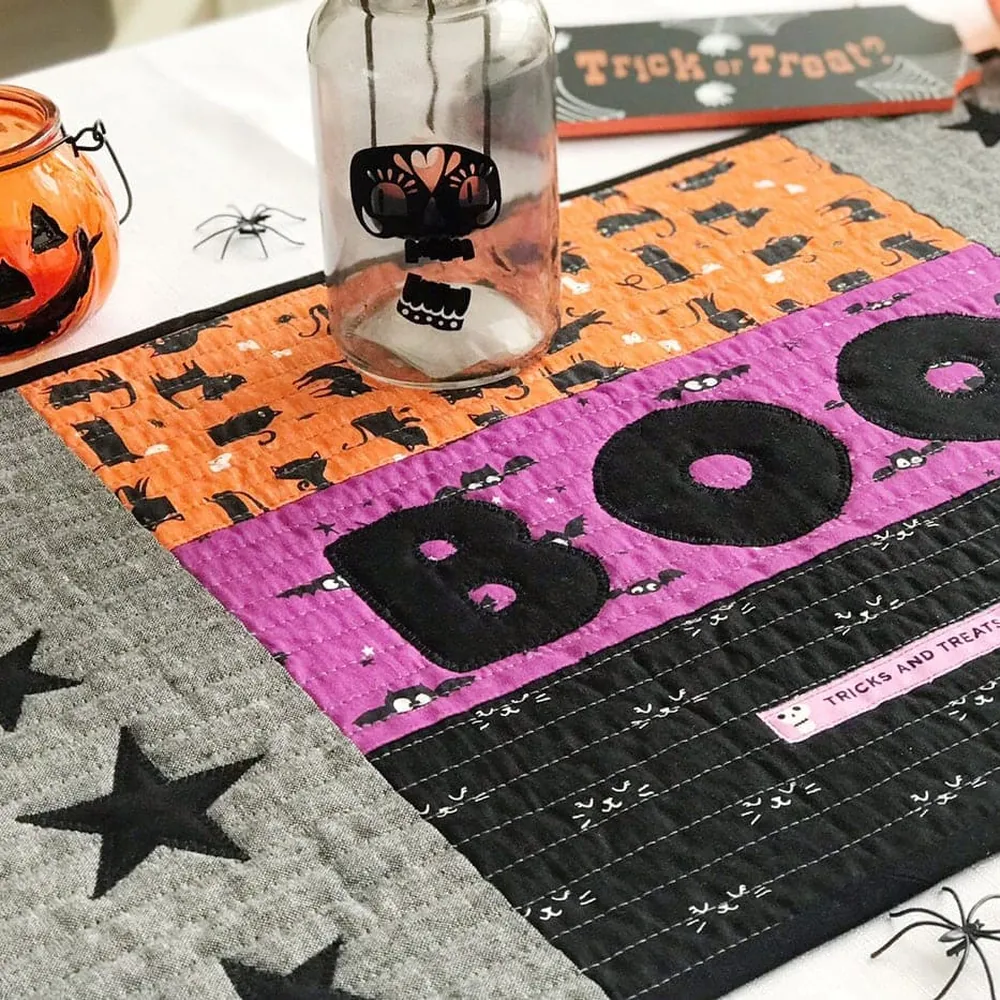
1. Free Quilted Halloween Placemat Pattern
Skill Level: Beginner to Intermediate
Time to Make: 2–3 hours
A quilted placemat is an easy way to bring Halloween to the dinner table without decorating the entire room. This design works well for family meals, parties, or simply adding a seasonal touch throughout October.
If you’re making a set, cut all of your fabrics before sewing the first placemat. Batch cutting keeps every mat the same size and makes the whole project come together much faster. It’s also a good opportunity to mix Halloween prints with a few solids so the design doesn’t feel too busy.
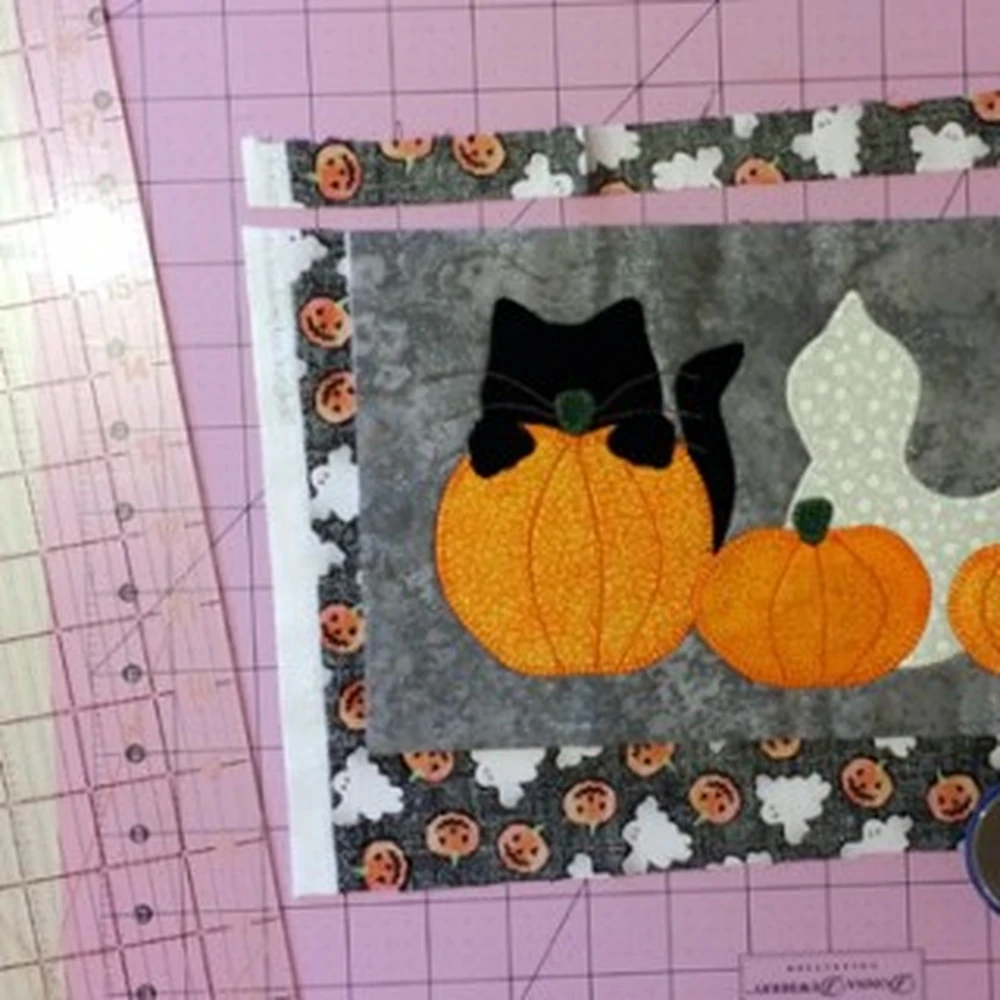
2. October’s Halloween Mug Rug Tutorial
Skill Level: Beginner
Time to Make: About 1 hour
A mug rug is one of the quickest seasonal projects you can make, and it’s perfect for using those smaller fabric scraps you’ve been saving. Keep one beside your favorite mug, tuck one into a gift basket, or make several for friends who enjoy decorating for Halloween.
Since the quilting is such a visible part of a project this size, choose a simple design that complements the patchwork instead of competing with it. Straight lines, gentle curves, or a loose grid all work beautifully and keep the focus on the fabric.
You know, Halloween is the perfect excuse to pull out your favorite spooky fabrics. Find even more inspiration in our collection of Halloween sewing projects.
3. Scrappy Reversible Halloween Mat for Table
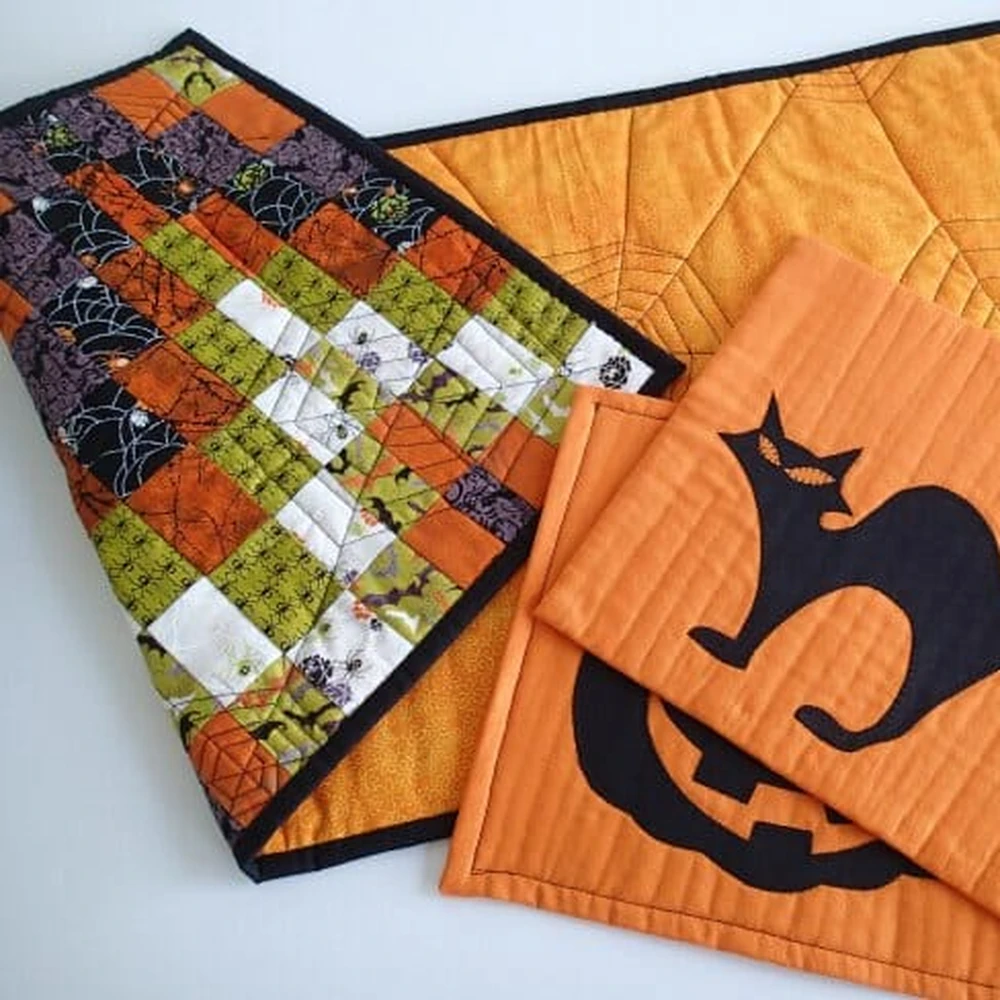
Skill Level: Beginner
Time to Make: 2–3 hours
Reversible projects always feel like you’re getting a little extra value from the time you spend sewing. One side can feature playful Halloween prints, while the other works for the rest of the fall season.
It’s a practical choice if you prefer decorations that stay out longer than a few weeks. Before sewing the layers together, pin or clip everything securely around the edges. Keeping the fabrics from shifting now means the finished mat will lie flatter once it’s turned and topstitched.
Wonder Clips are especially helpful for projects like this because they hold multiple layers together without leaving pin holes in thicker fabrics.
4. Easy & Inexpensive DIY Halloween Door Mat
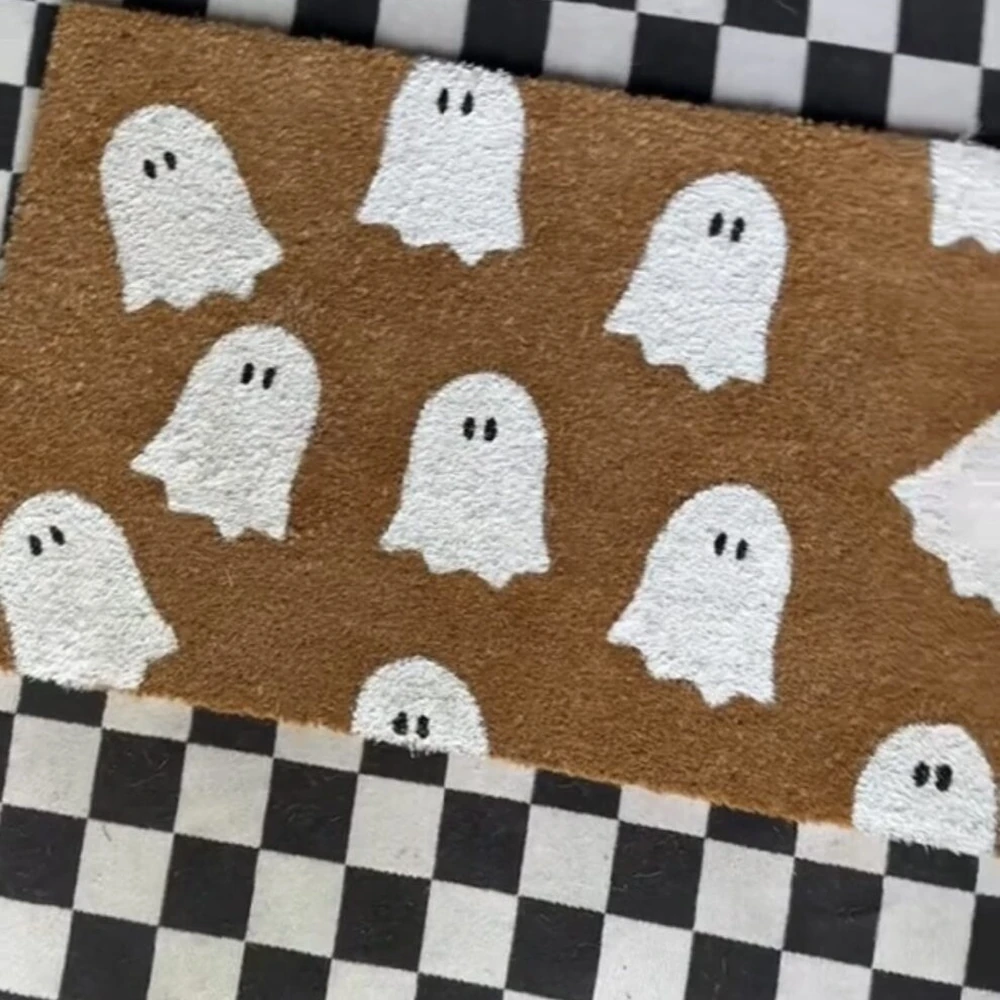
Skill Level: Beginner
Time to Make: 1 hour
A custom door mat is one of the easiest ways to make your front porch feel ready for Halloween. You don’t need expensive supplies or advanced crafting skills to get great results. Start with a plain coir mat and keep your design fairly simple, especially if this is your first time painting one.
Larger shapes and bold lettering usually stay crisp on the textured surface and are much easier to paint cleanly than tiny details. The finished mat instantly gives guests a warm Halloween welcome. And if you’re getting ready for celebrations too, these fall sewing projects are worth adding to your list.
5. Simple Halloween Doormat with Spray Paint
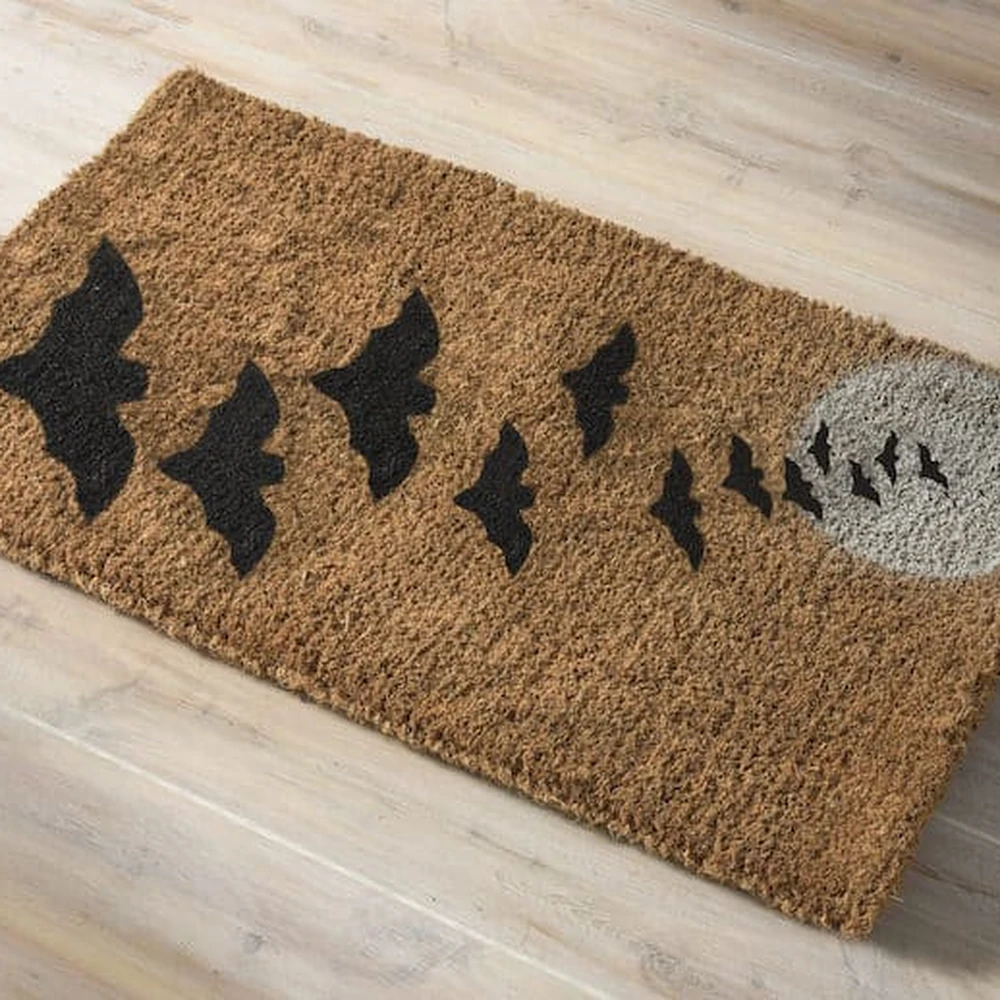
Skill Level: Beginner
Time to Make: 30–45 minutes
Spray paint is a quick way to transform an ordinary doormat into something fun for the season. The biggest difference comes from taking your time with the stencil rather than the painting itself. Secure the stencil firmly so it can’t shift, then build the color with several light coats instead of trying to cover everything at once.
That approach gives cleaner edges and helps prevent paint from bleeding underneath. Once the mat is completely dry, it’ll be ready to greet trick-or-treaters all month long.
A low-tack stencil adhesive is worth having for projects like this because it helps keep the stencil flat against the mat while still peeling away cleanly afterward.
6. DIY Halloween Mat + Front Porch Tutorial
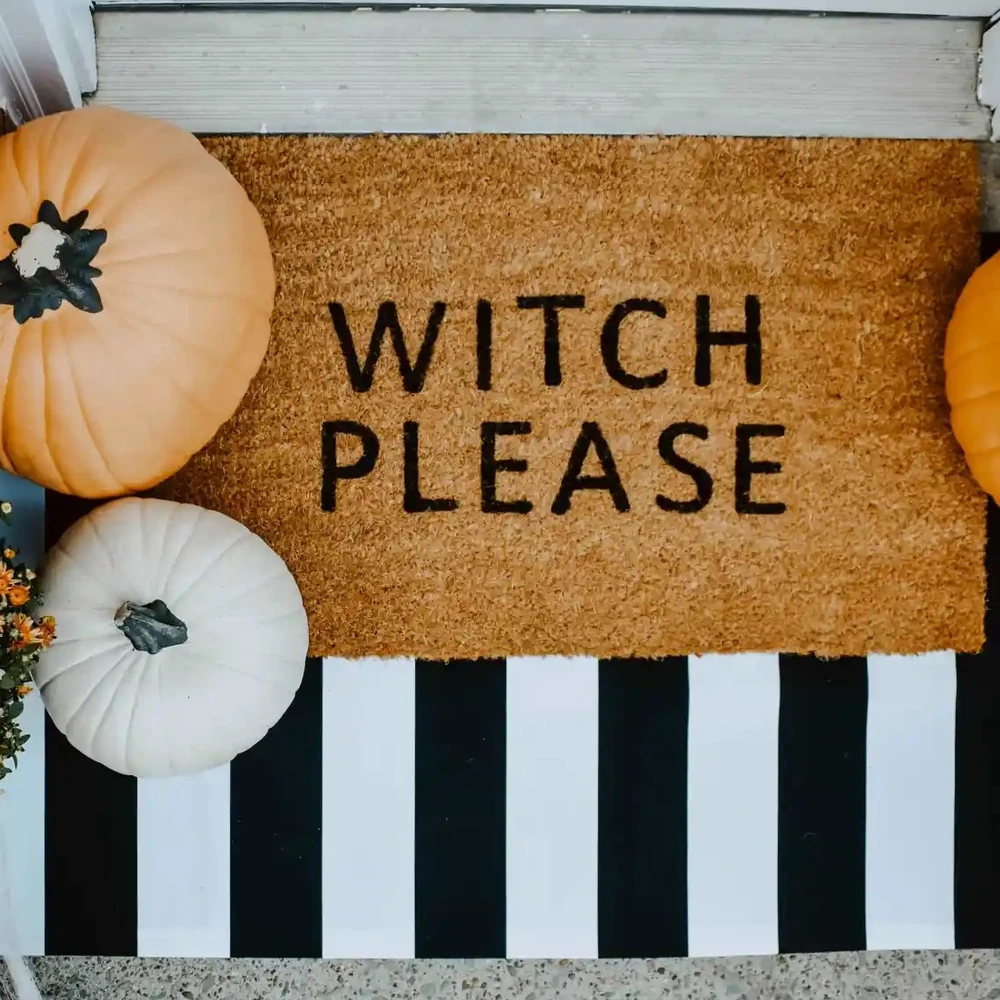
Skill Level: Beginner
Time to Make: 1–2 hours
A Halloween mat makes an even bigger impact when it’s part of a complete front porch display. Pair it with pumpkins, lanterns, mums, or a simple wreath, and the entire entrance feels thoughtfully put together. Also, take a quick look at the colors you’re already using outside.
Choosing paint that ties everything together creates a more polished look without buying additional decorations. Sometimes it’s those small details that make the biggest difference.
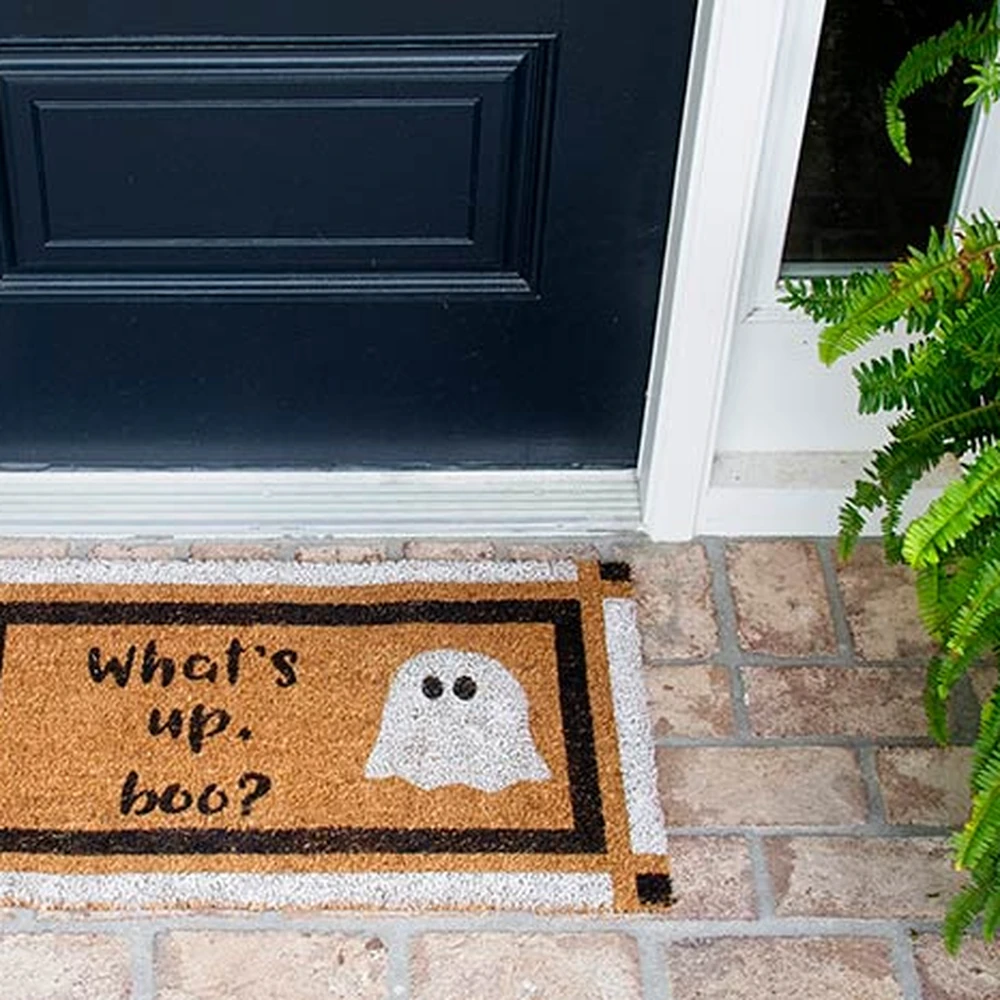
7. Make a Custom Halloween Mat With Custom Stencils
Skill Level: Beginner to Intermediate
Time to Make: 2–3 hours
Creating your own stencil opens the door to endless Halloween designs, from funny greetings to classic pumpkins, bats, and ghosts. If you’re cutting a stencil with a craft machine, keep delicate details to a minimum.
Slightly thicker lines hold up much better on rough coir mats and are easier to paint neatly. Before moving to your final mat, test the stencil on a piece of cardboard first. It’s a quick way to catch any small adjustments before you begin the finished project.
If you enjoy making custom signs, mats, and seasonal décor throughout the year, a self-healing craft mat protects your work surface and gives you plenty of room for trimming stencils.
Helpful Tips Before You Start
If you’re making several Halloween projects, try choosing a consistent color palette before you begin. Black, orange, cream, and muted greens work well together, but adding one accent color (like purple or lime green) helps tie everything together from your dining table to your front porch.
For painted doormats, always work outdoors or in a well-ventilated area and give each coat plenty of time to dry. Rushing this step can lead to smudges that are difficult to fix once the paint starts to set. And don’t forget to check out these ghost quilt patterns for Halloween!
For quilted mats and mug rugs, keep a few coordinating binding fabrics nearby. Having options ready makes it easier to choose a finish that frames the project instead of blending into it.
Common Mistakes to Avoid
One mistake people often make is choosing designs with tiny details for painted doormats. Coir has a naturally rough texture, so bold shapes almost always produce cleaner results.
For quilted mats, don’t overlook the importance of pressing. Flat seams make the layers easier to quilt and help everything line up more accurately around the edges.
Finally, remember that outdoor mats need time to cure after painting. Letting the paint dry completely before placing the mat outside will help your design last much longer through the Halloween season. Looking for something simple and evergreen? Try out our jelly roll quilts!
Halloween mat projects don’t have to be complicated to make your home feel festive. A handmade placemat, or mug rug, is often all it takes to welcome the season and enjoy a little extra time making something with your own hands.