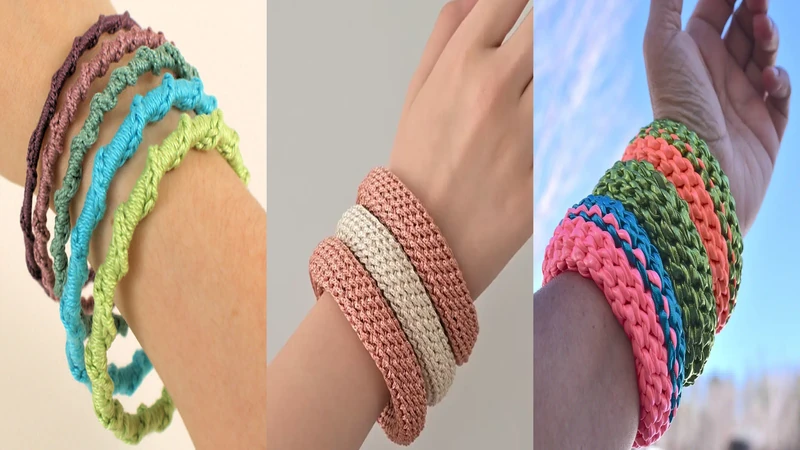
These crochet bangle bracelets are proof that small projects can be just as satisfying as larger ones. They work up quickly, use very little yarn, and give you plenty of freedom to experiment with color, texture, and stitch patterns without committing to a long project. If you’re looking for a relaxing weekend make or an easy handmade gift, these free crochet bangle bracelet patterns offer plenty of fresh ideas to keep your hook moving.
DIY Free Crochet Bangle Bracelet Patterns You’ll Love
Looking for the pattern or tutorial? You’ll find the source link right below each image. Some featured projects are shared for inspiration, so not every image includes a step-by-step tutorial!
1. Twisted Chain Bangle Crochet Bracelet Free Pattern
Skill Level: Beginner
Time to Make: 30 to 45 minutes
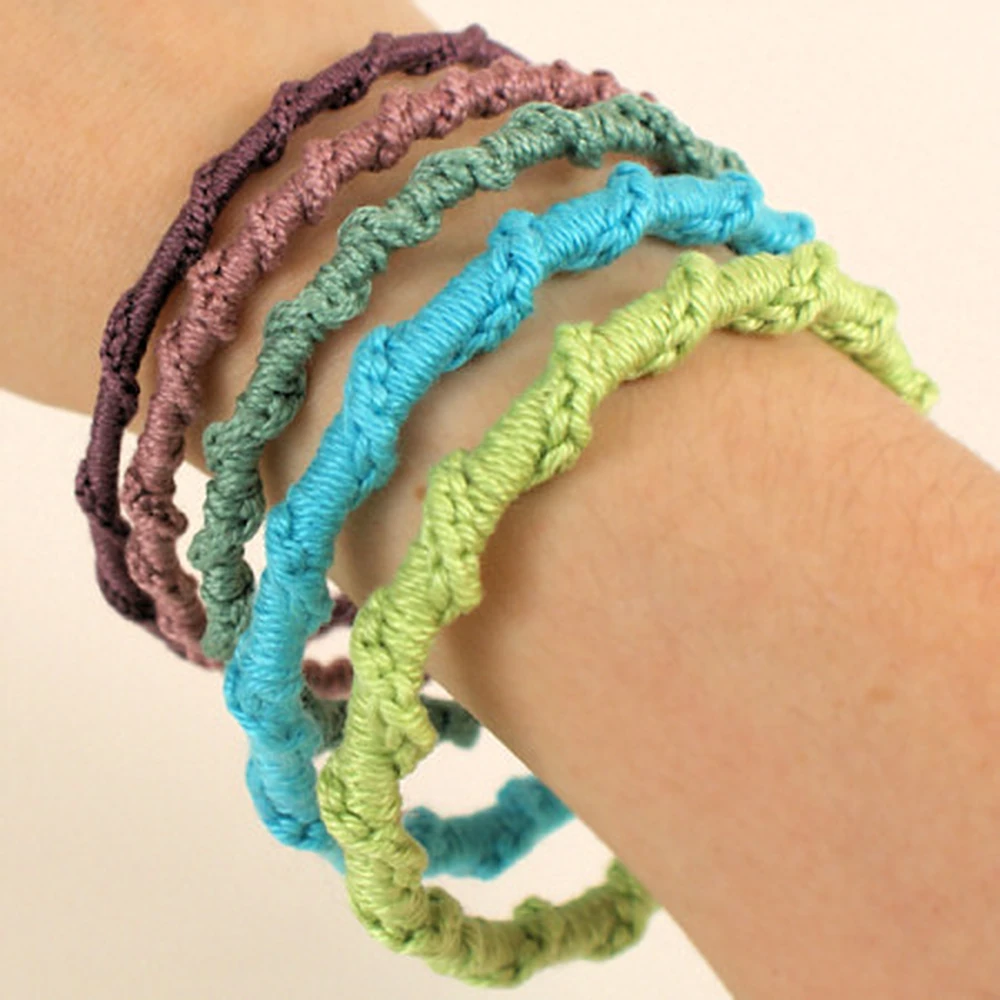
Twisted stitches give this bracelet far more texture than you’d expect from such a simple project. Every round builds on the last, so you can enjoy watching the design develop without needing to memorize complicated stitch combinations.
Many crocheters pull these stitches a little too tightly at first. Relaxing your tension just slightly allows the twists to sit more naturally, giving the bracelet a smoother finish that’s also more comfortable to wear.
2. Crochet Bangles Bracelet Pattern
Skill Level: Beginner
Time to Make: 45 minutes to 1 hour
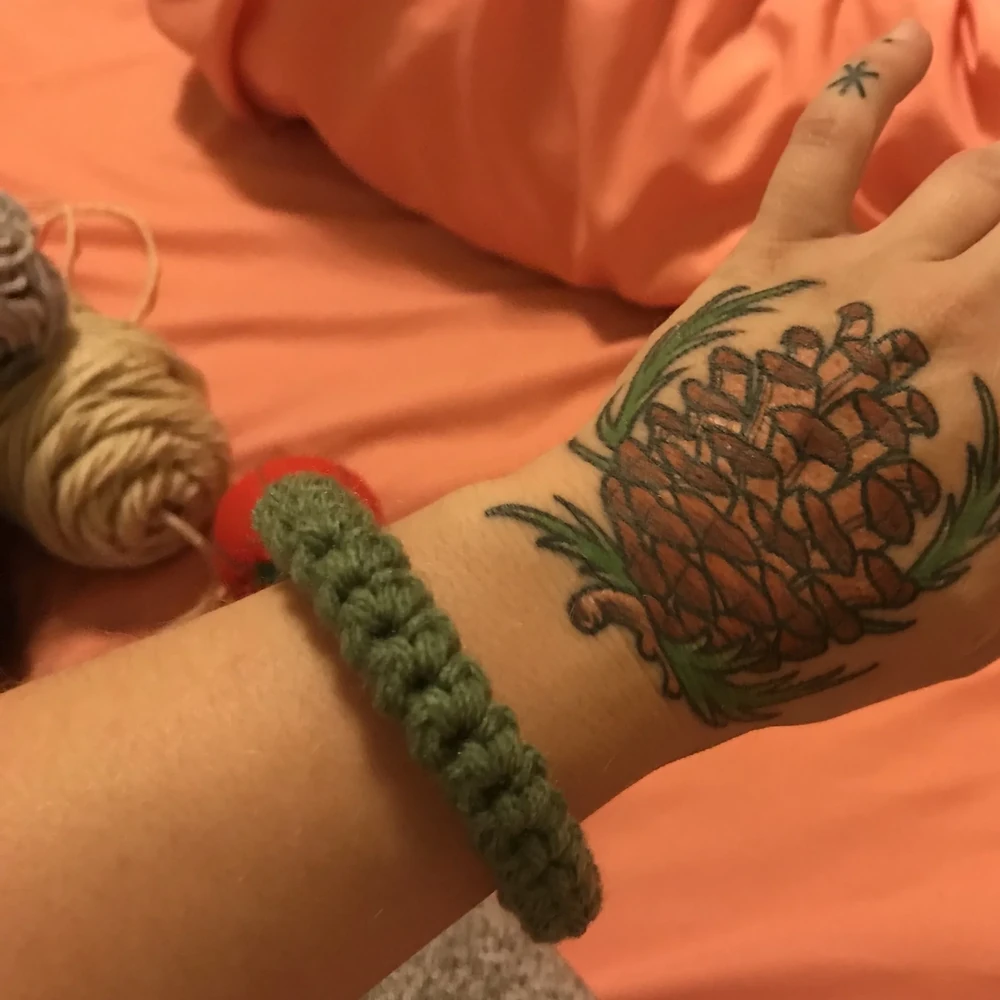
Covering a plain bangle with crochet is one of the quickest ways to create something that looks completely different from the original base. Since the structure is already there, you can focus on playing with yarn colors and stitch textures instead of shaping the bracelet itself.
Keeping your yarn feeding smoothly makes the stitches much more even from beginning to end. Many crocheters enjoy working from a yarn bowl because it keeps the yarn clean and stops it rolling away during smaller projects.
3. Crochet Bracelets for Beginners – Easy Design
Skill Level: Beginner
Time to Make: 30 to 60 minutes
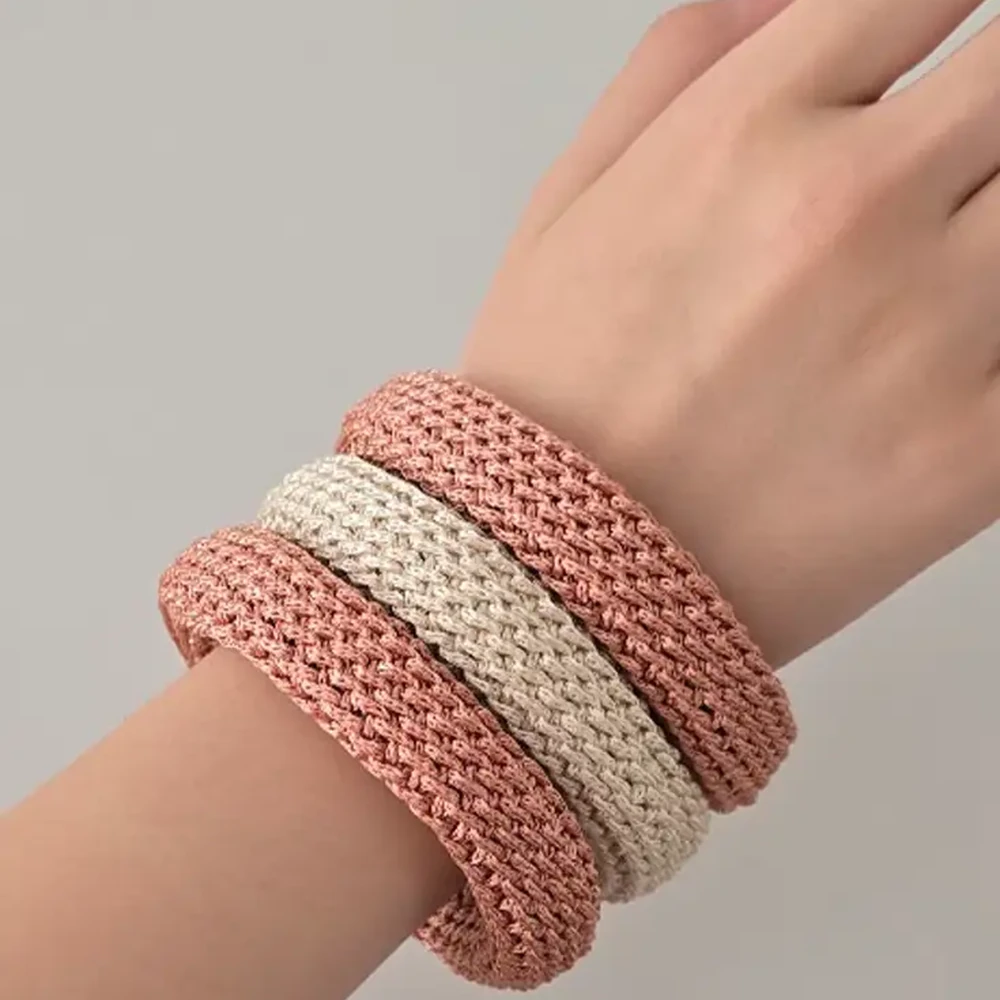
If you’re still building confidence with crochet, this is one of those projects that teaches useful skills without feeling overwhelming. You’ll practice keeping an even tension, finishing neatly, and creating something wearable long before a larger garment reaches the same stage.
Don’t worry if your first bracelet isn’t exactly the size you expected. Small adjustments to the starting chain can make a noticeable difference, and once you’re comfortable with simple wearables, our crochet hoodie patterns are a rewarding next step.
4. How to Make an Easy Crochet Bangle Bracelet
Skill Level: Beginner
Time to Make: 45 minutes to 1 hour
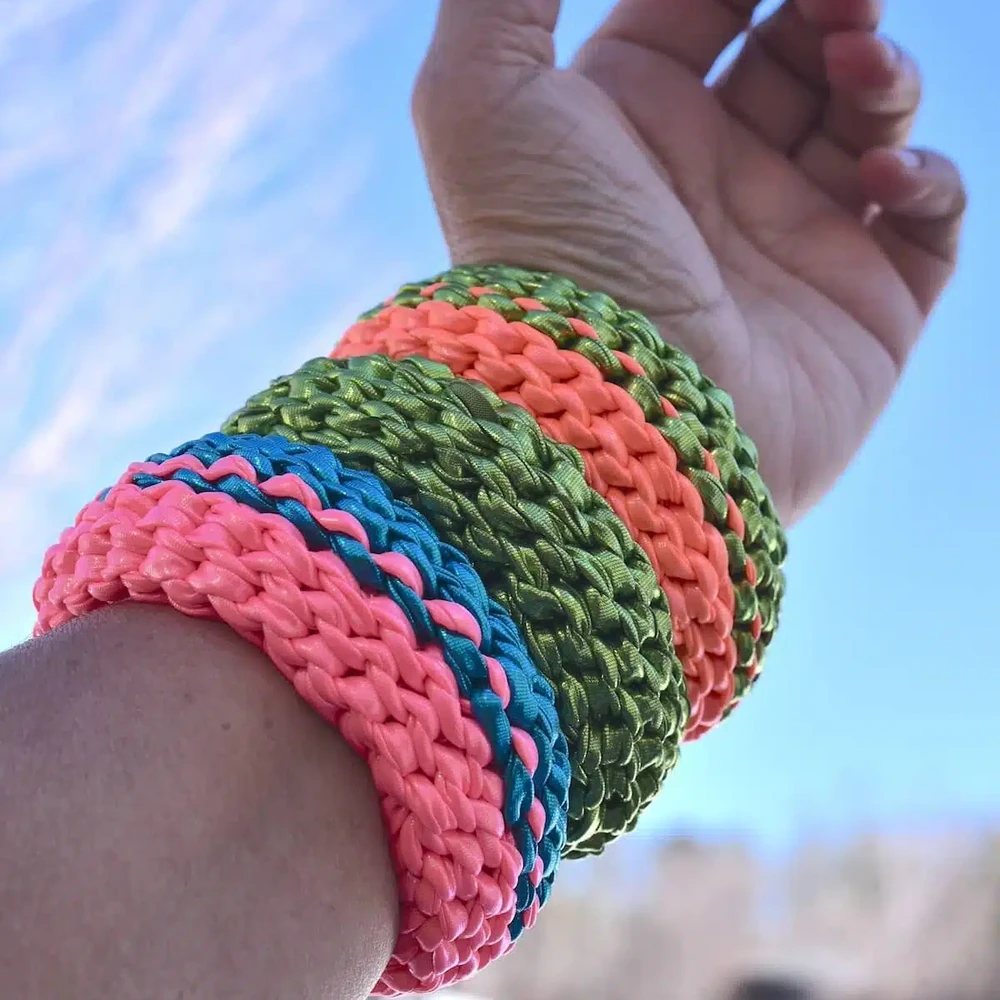
Some bracelet patterns become favorites because they don’t ask you to learn anything complicated before getting started. This one is built around simple stitches, making it ideal for trying new color combinations or using those small leftovers that rarely fit into larger projects.
You’ll probably notice the bracelet starts looking much neater once the edges stay even from round to round. Keeping crochet stitch markers nearby makes it much easier to spot the beginning of each round without stopping to count repeatedly.
5. Free Crochet Bangle Style Bracelet Pattern
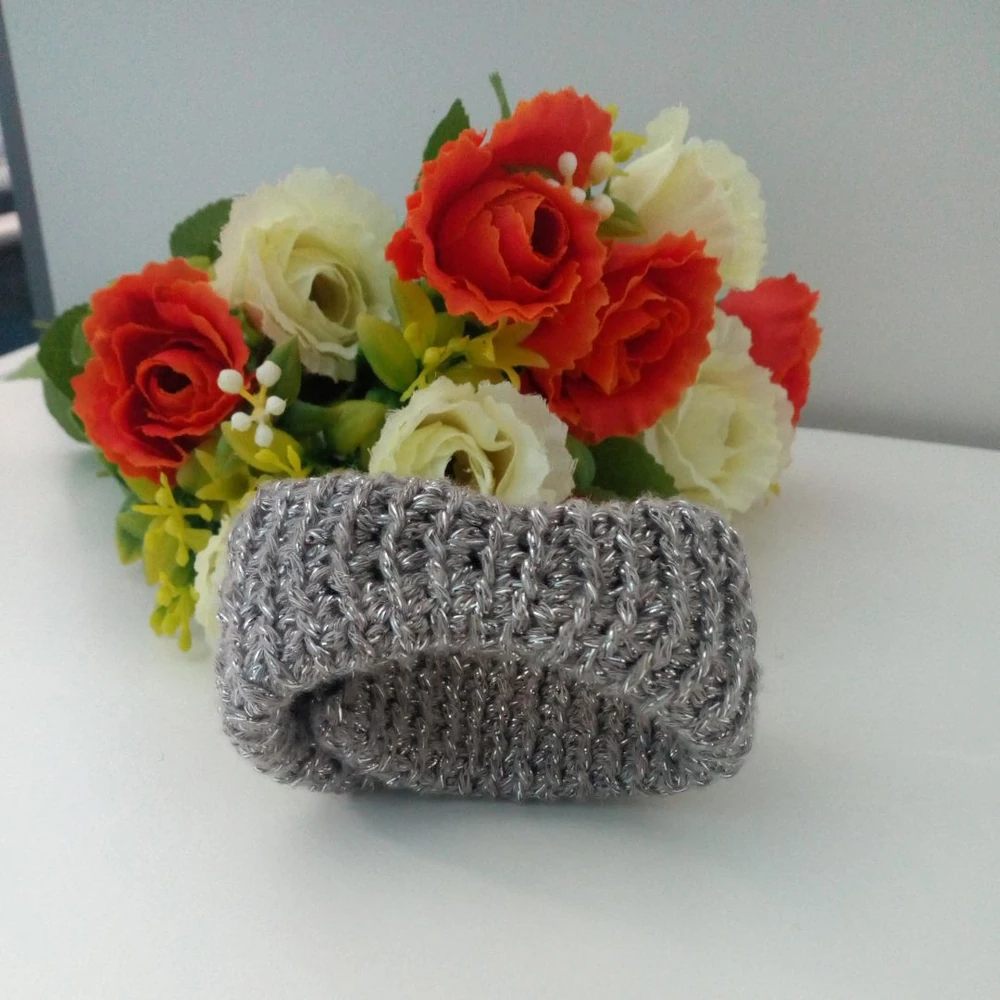
Skill Level: Beginner
Time to Make: 1 hour
Changing the yarn completely changes the personality of this bracelet. Soft neutrals create something you’ll reach for every day, while brighter shades turn it into a fun statement piece that’s perfect for stacking with other handmade accessories.
Many crocheters focus only on the stitches, yet yarn choice matters just as much. Soft crochet wool yarn gives the bracelet a comfortable finish and helps the texture stand out without feeling bulky.
6. Left Over Yarn Crochet Bangle Bracelet by Katerina Designs
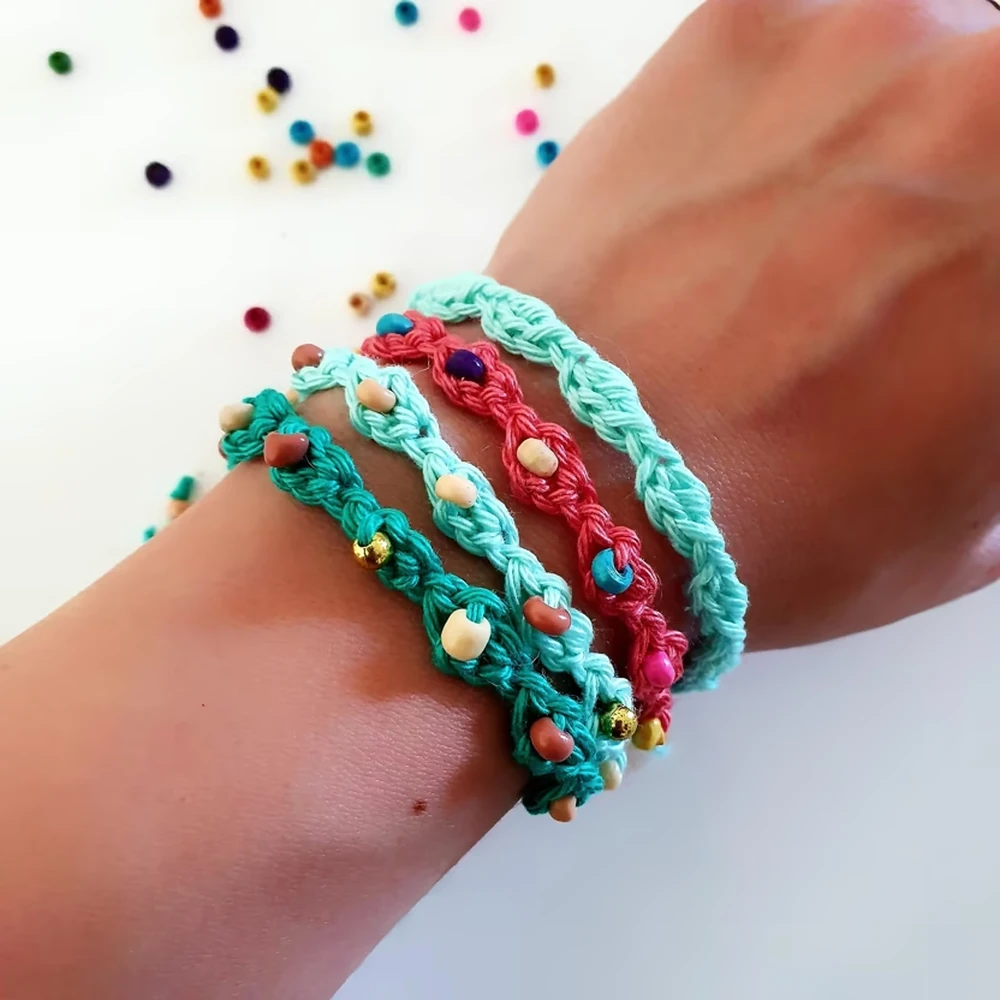
Skill Level: Beginner
Time to Make: 30 to 45 minutes
Leftover yarn often sits forgotten because there doesn’t seem to be enough for another project. This bracelet proves the opposite. Small amounts of color can come together beautifully, and every finished piece ends up looking slightly different from the last.
Instead of joining random colors straight away, lay the yarn strands beside one another first. You’ll often discover combinations that wouldn’t have seemed obvious at first glance, and if you’re looking for another creative way to use leftover yarn, our mini cat crochet patterns are full of quick projects.
7. Wren Handmade Crocheted Bangle Bracelets
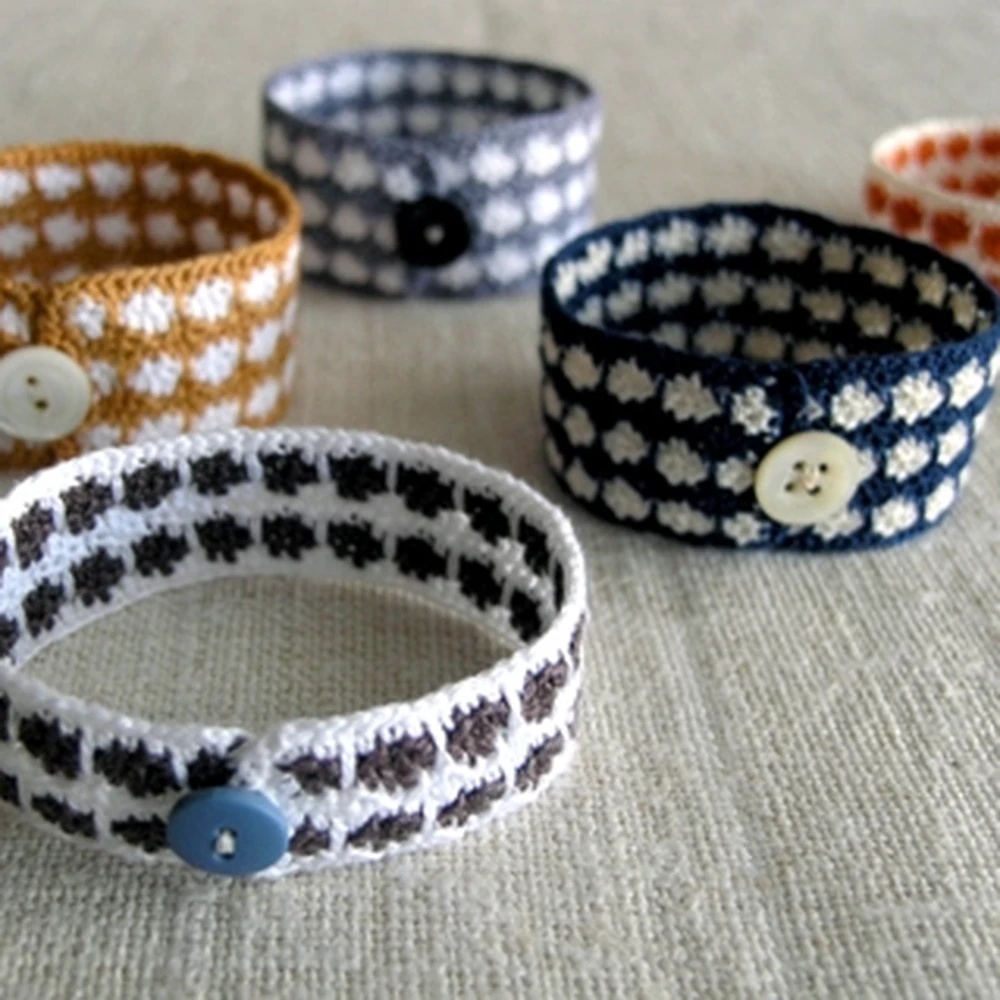
Skill Level: Beginner to Intermediate
Time to Make: 1 to 2 hours
Making several bracelets at once can be surprisingly satisfying because every small change creates a completely different result. Switching stitch patterns, colors, or bead placement gives each bracelet its own style without changing the basic construction.
Before wearing the finished bracelet, take a few minutes to shape it properly. Pinning it gently on crochet blocking mats helps the stitches settle into place and gives the finished piece a much cleaner look.
8. Crocheted Bangle Bracelet Pattern by Kath Webber
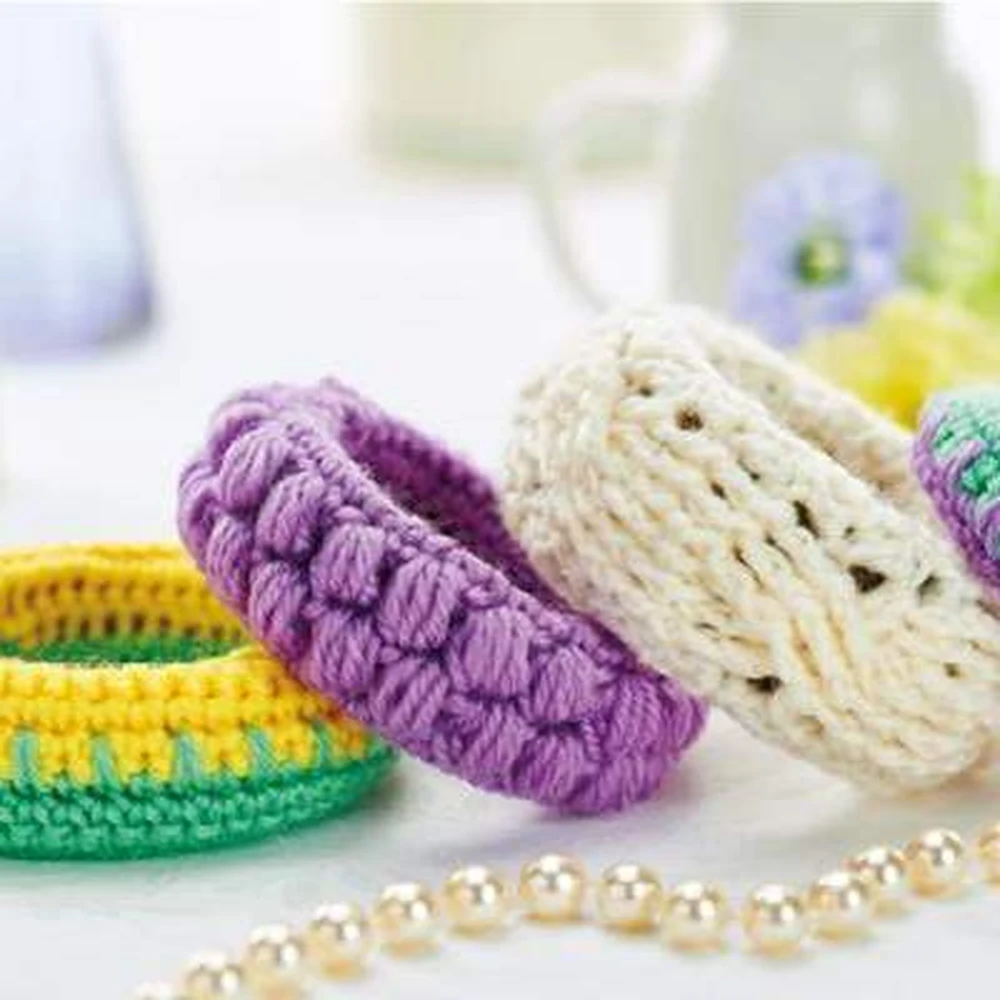
Skill Level: Intermediate
Time to Make: 1 to 2 hours
By the time you reach this pattern, you’ll probably notice how much your stitch consistency has improved. That’s one reason small wearable projects are so rewarding. Every bracelet helps build confidence, and those little improvements quickly carry over into larger crochet projects.
Taking a few extra minutes to weave in the ends securely makes a noticeable difference because bracelets are handled much more than scarves or blankets. Pinning the finished bracelet with crochet blocking pins also helps it hold a smooth, even shape before you wear or gift it.
Small Details That Make Crochet Bracelets Look Handmade in the Best Way
Bracelets may be quick projects, yet they’re often viewed up close, so neat finishing becomes much more important than speed. Keeping your tension consistent from the first stitch to the last creates a bracelet that feels comfortable and looks polished from every angle.
Color can completely change the mood of the same pattern. Soft neutral shades create something you’ll wear almost every day, while bold combinations are perfect for stacking several bracelets together. If you’re looking for another relaxing project that brings color into your home, our crochet houseplant patterns are full of ideas that use yarn in completely different ways.
Working several bracelets at the same time is another trick many crocheters enjoy. Once the stitch pattern feels familiar, making two or three in different colors takes very little extra effort and leaves you with thoughtful handmade gifts ready whenever you need them.
Common Crochet Bracelet Mistakes to Avoid
Choosing a bracelet size before checking the stretch of your stitches often leads to a fit that’s either too loose or too tight. Wrapping the piece around your wrist before fastening the final join gives you a chance to make small adjustments without undoing the whole project.
Many beginners also pull decorative stitches too tightly, which hides the texture that makes these bracelets stand out. Relaxing your grip just a little usually lets the stitch pattern open naturally and gives the finished bracelet a much cleaner appearance.
Small projects are perfect for practicing new techniques, so don’t be afraid to experiment with colors, textures, or different edging ideas. Once you’re ready for a seasonal sewing project instead of crochet, our free bat sewing patterns offer another fun way to spend a creative weekend.
Every crochet bracelet is a chance to try a new stitch, use a favorite leftover yarn, or create a thoughtful handmade gift in just a couple of hours. Keep experimenting with different textures and colors, and you’ll soon have a collection that’s completely your own.