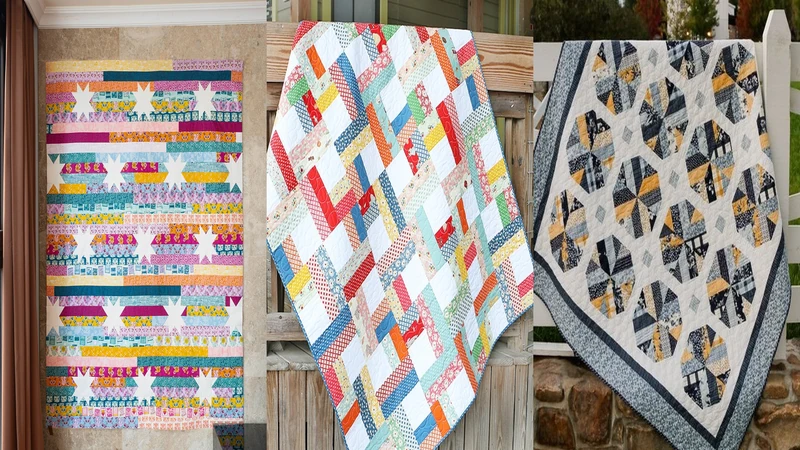
Jelly rolls solve one of the biggest questions every quilter faces: which fabrics work well together? Since the strips are already coordinated and ready to cut, you can spend less time planning and more time sewing. From beginner-friendly layouts to quilts that make the most of every strip, these quilting with jelly rolls patterns are full of ideas that are satisfying to sew and even more rewarding to finish.
Free Quilting with Jelly Rolls Patterns to Try Today
Looking for the pattern or tutorial? You’ll find the source link right below each image. Some featured projects are shared for inspiration, so not every image includes a step-by-step tutorial!
1. Quilting with Jelly Rolls Pattern Rail Fence
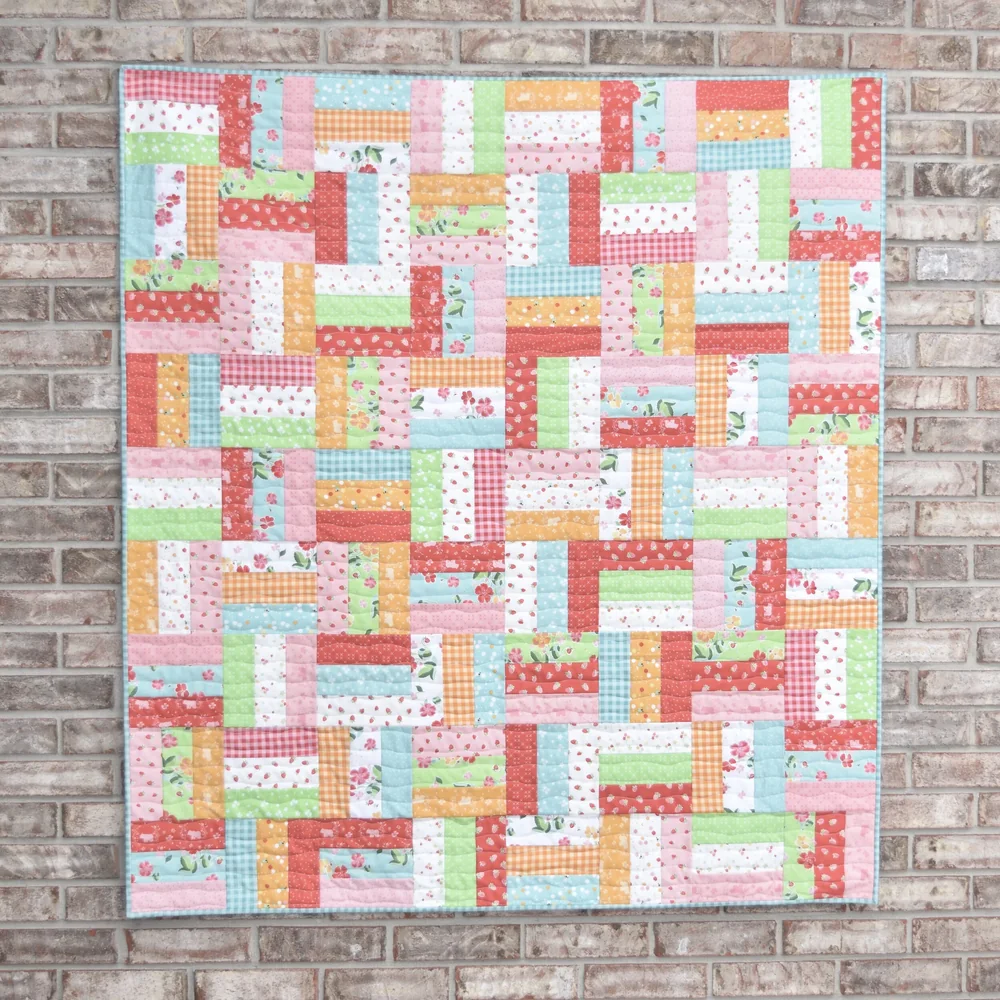
Skill Level: Beginner
Time to Make: 1 weekend
Rail Fence quilts have stayed popular for years because they prove simple strip piecing can still produce a quilt full of movement. The repeating blocks come together quickly, yet changing the strip order creates completely different results without making the sewing any harder.
Before stitching the blocks together, rotate a few of them on your design wall. Small changes in direction can create new secondary patterns that many quilters don’t notice until they start experimenting with the layout.
2. Strip Quilt Pattern Reboot Quilting with Jelly Rolls Pattern
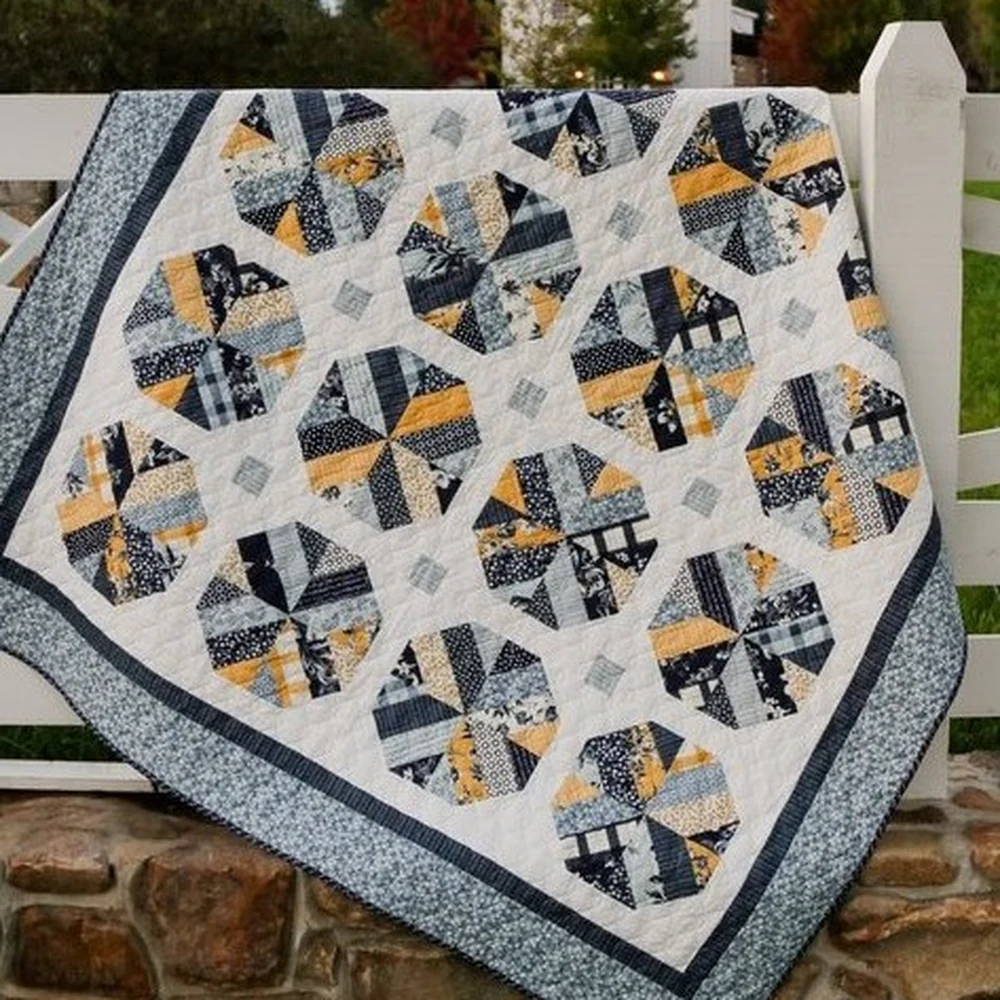
Skill Level: Beginner
Time to Make: 2 to 3 days
Long jelly roll strips make this project feel wonderfully productive because the quilt starts growing after just a few seams. It’s a great reminder that not every beautiful quilt needs intricate piecing or dozens of different block designs.
Cutting several strips at once can dull your rotary blade faster than expected. Fresh rotary cutter blades leave cleaner edges that match more accurately later, especially when the quilt depends on long continuous seams.
3. Jelly Stars Quilt Pattern Easy Tutorial
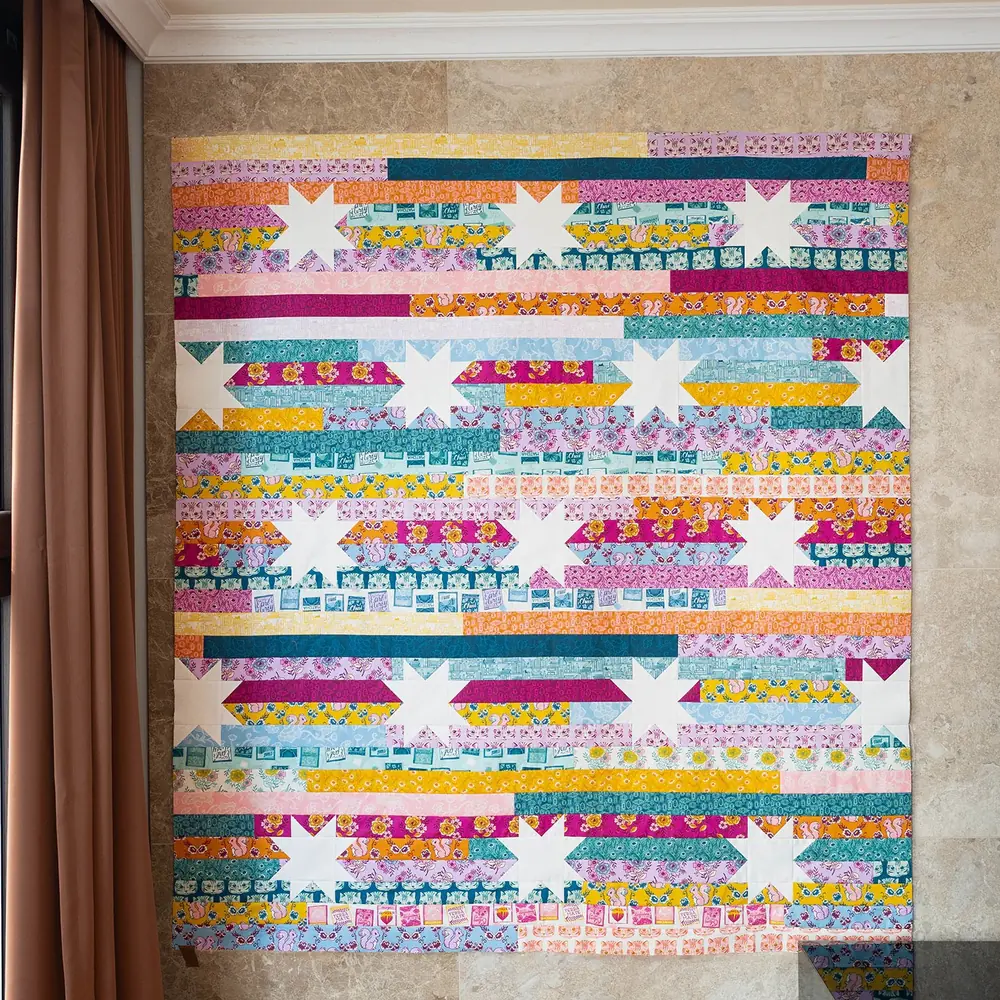
Skill Level: Beginner to Intermediate
Time to Make: 2 to 4 days
Star quilts often look much more complicated than they really are, and this pattern is a perfect example. Jelly roll strips simplify much of the cutting, letting you focus on building crisp points and arranging the stars across the quilt.
Many quilters discover the stars become much more noticeable once the background fabrics stay consistent throughout the layout. If you’d like another project that makes thoughtful fabric placement the centre of attention, our crumb quilting patterns offer plenty of creative inspiration.
4. Quilting for Jelly Rolls for Beginners
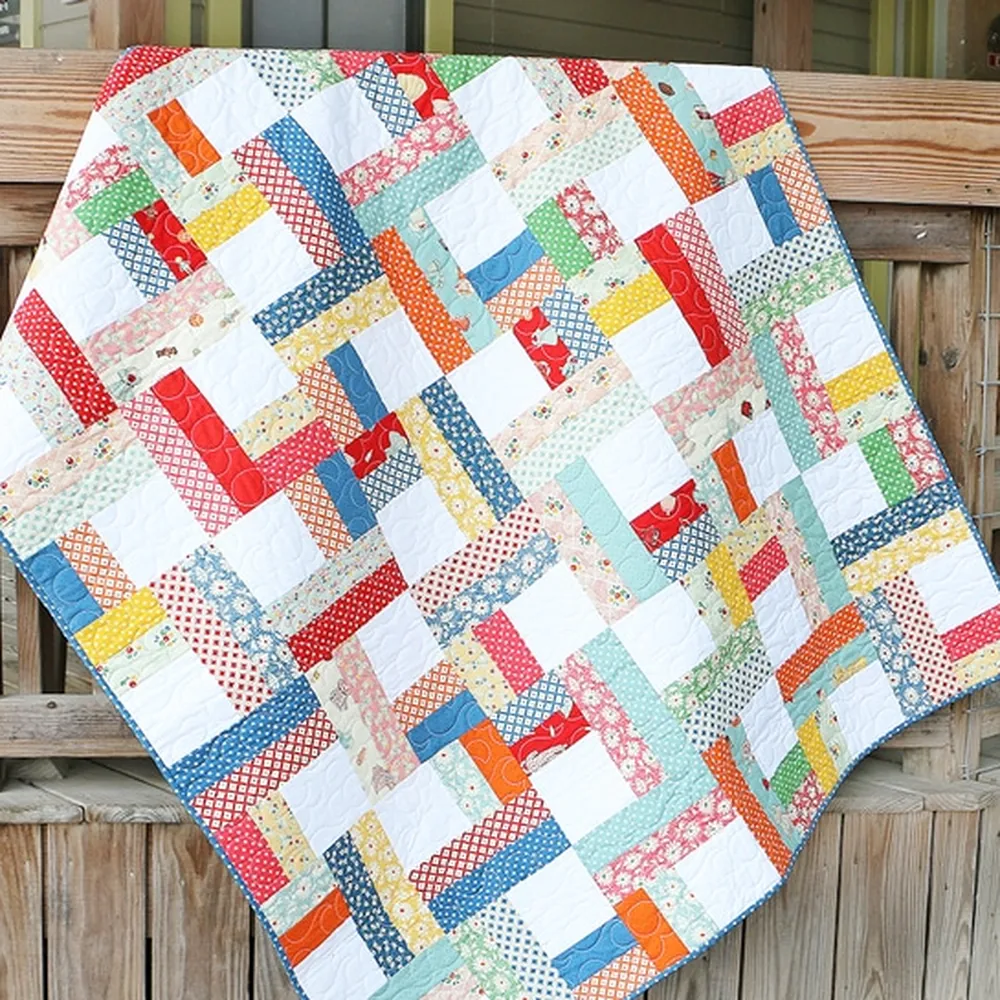
Skill Level: Beginner
Time to Make: 1 to 2 days
Every quilter has a project that makes everything suddenly click, and this could easily be that one. Since the strips are already cut to size, you can pay much more attention to accurate piecing and color placement without feeling overwhelmed by preparation.
Many beginners are tempted to separate every print before sewing. Instead, leave the strips in their original order for the first layout. Fabric collections are usually arranged with balance in mind, so you’ll often end up with a quilt that flows naturally from one block to the next.
5. Jelly Filled Jelly Rolls Quilting Pattern
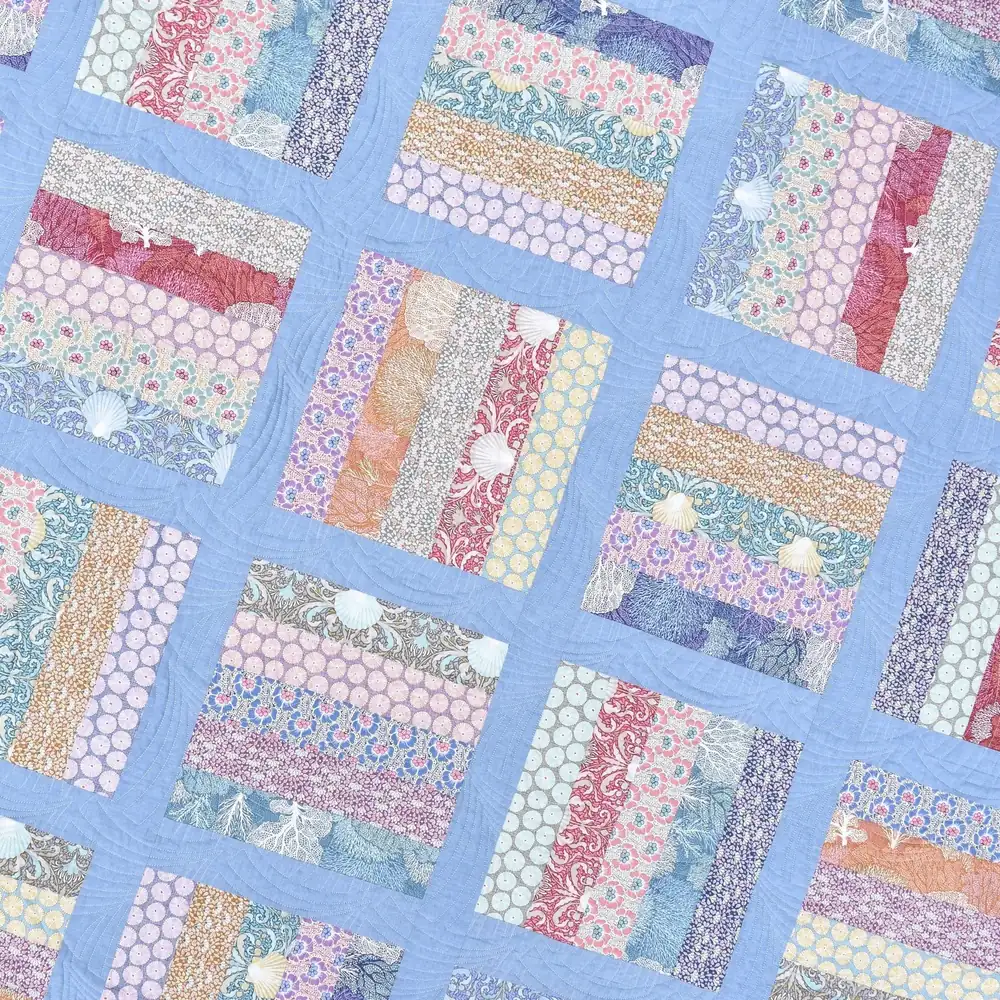
Skill Level: Beginner
Time to Make: 2 to 3 days
This pattern rewards curiosity because every new block reveals another interesting fabric combination. It’s one of those quilts where you’ll probably stop every few rows just to admire how the colours are coming together without needing much planning.
Long strip seams deserve a little extra attention before moving to the next step. Running a walking foot across longer sections helps both layers feed evenly, reducing the chance of fabric shifting as the quilt grows.
6. Quilting for Jelly Rolls Pattern + Tutorial
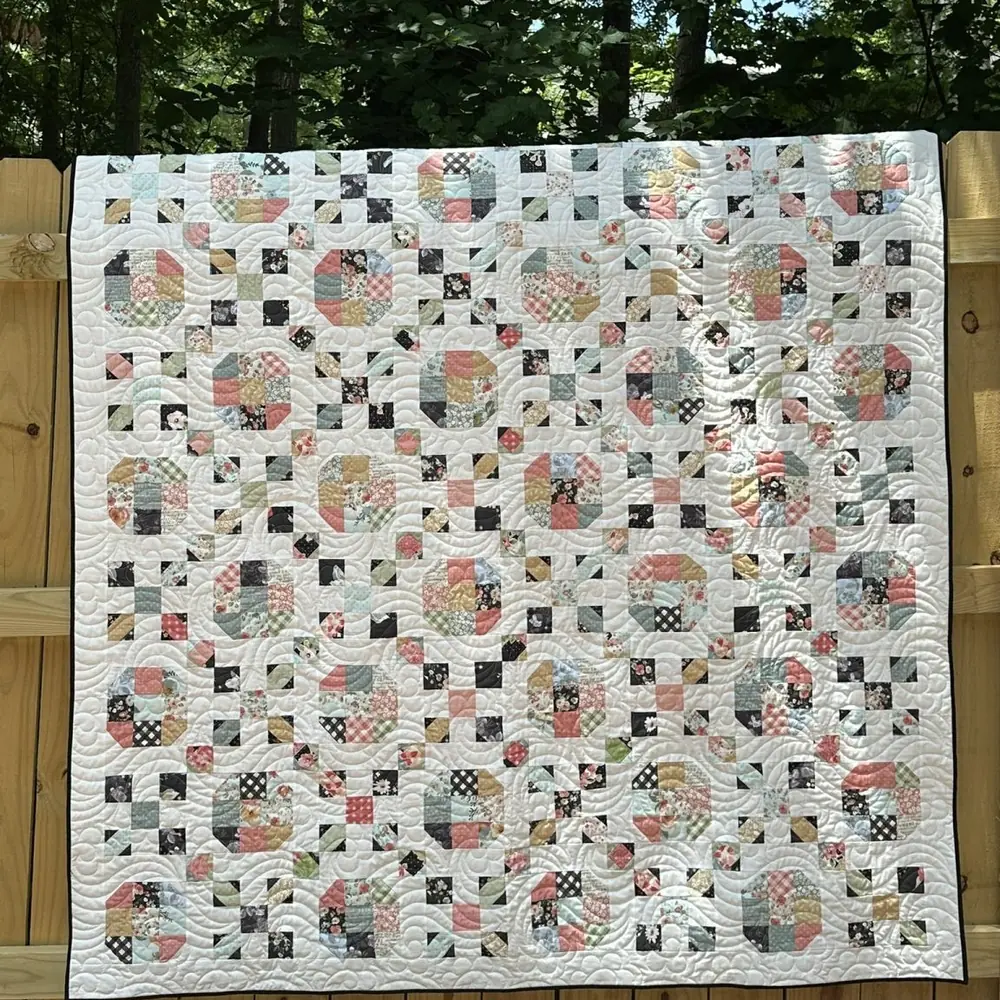
Skill Level: Beginner to Intermediate
Time to Make: 2 to 4 days
Trying a fresh layout with familiar jelly roll strips is a great reminder that fabric placement can completely change the personality of a quilt. You may recognise the same prints from other projects, yet this arrangement gives them an entirely different feel.
Don’t rush into trimming the blocks as soon as they’re sewn. Letting several units build up first makes it easier to spot small adjustments that improve consistency across the whole quilt, and our mini quilt wall hanging ideas use that same thoughtful approach to layout on a smaller scale.
7. Jelly Rolls Quilt Pattern by So Sew Easy
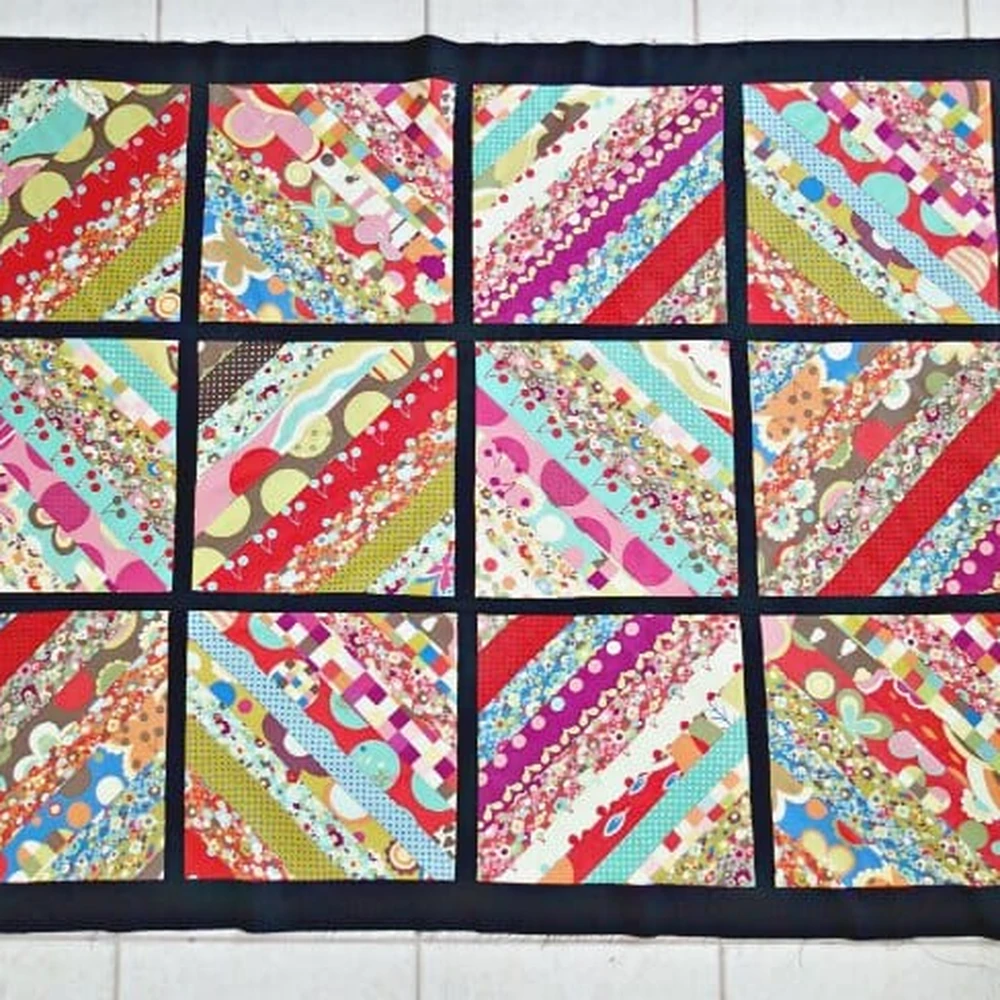
Skill Level: Beginner
Time to Make: 1 weekend
This project is a great reminder that simple construction doesn’t have to produce a simple-looking quilt. Clean strip placement allows the fabrics to do the talking, and that’s often all a jelly roll needs to create a quilt with plenty of visual interest.
Once the quilt top is finished, clip the layers together before quilting instead of relying only on pins. Many quilters find wonder clips especially useful around the edges because they hold everything securely without distorting the fabric.
8. Jelly Strip Stash Buster Quilt and Tutorial
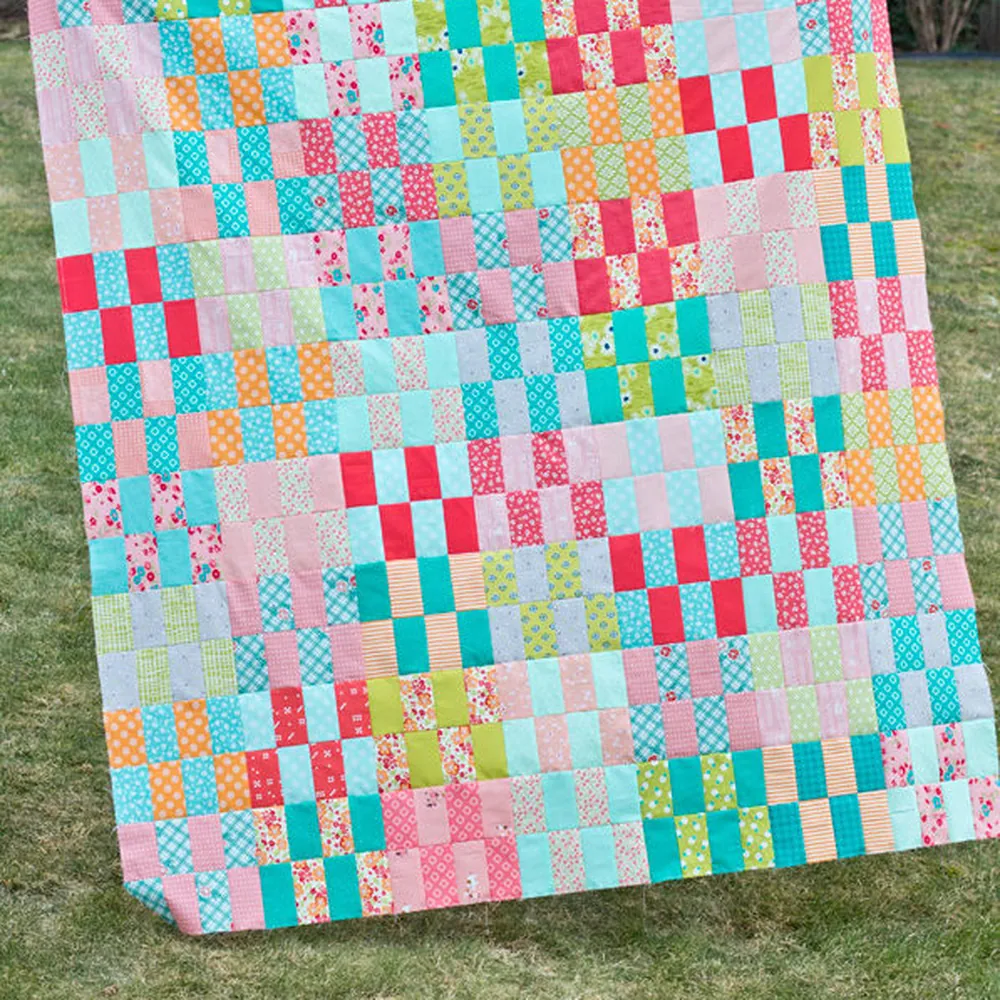
Skill Level: Beginner
Time to Make: 2 to 3 days
Jelly roll leftovers have a habit of collecting after a few projects, and this pattern gives every remaining strip a purpose. Mixing older strips with a few new ones often creates combinations you might never have chosen from scratch, yet the finished quilt still feels surprisingly cohesive.
Instead of grouping similar colours together, scatter them across the quilt in small doses. Repeating a colour every few blocks naturally guides your eye through the design, and if playful layouts are something you enjoy, our cat quilt patterns use the same principle in a completely different way.
9. How to Make a One-Block Jelly Roll Quilt
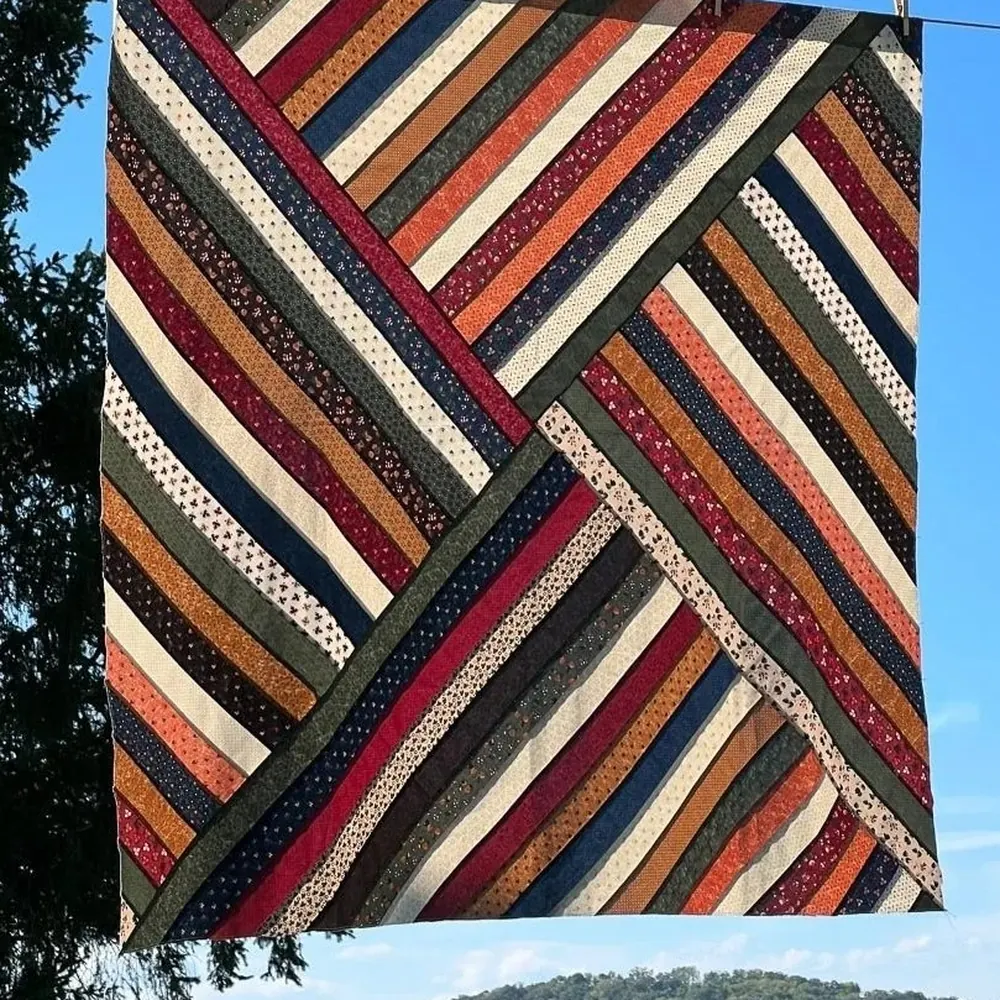
Skill Level: Beginner
Time to Make: 1 to 2 days
There’s something satisfying about repeating a single block and watching a full quilt slowly appear. Instead of learning several units, you can settle into a comfortable rhythm, making this a relaxing project for a quiet weekend at the sewing machine.
Don’t let the simplicity fool you, though. Rotating a few blocks before joining the rows can create completely different secondary patterns, so it’s worth spending a little time experimenting with the layout before stitching everything together.
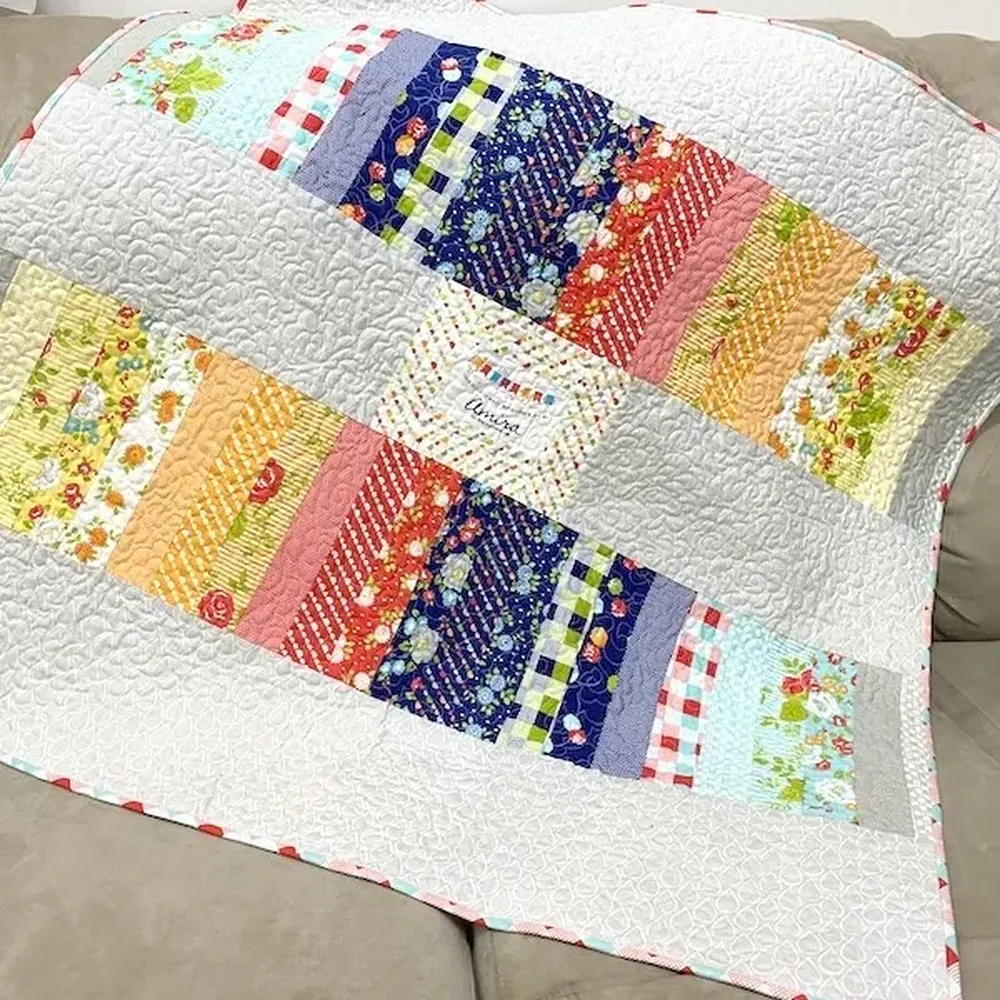
10. Quilting with Jelly Rolls – Jelly Roll Spinner Pattern
Skill Level: Intermediate
Time to Make: 3 to 5 days
This pattern rewards a little patience because the movement doesn’t fully appear until several blocks are sewn together. Then, almost all at once, the spinner effect starts to emerge, and that’s the moment many quilters realise just how clever the layout really is.
Accurate intersections make a noticeable difference here. Wearing quilting gloves gives you better control when guiding the quilt through the machine, especially once the layers become heavier.
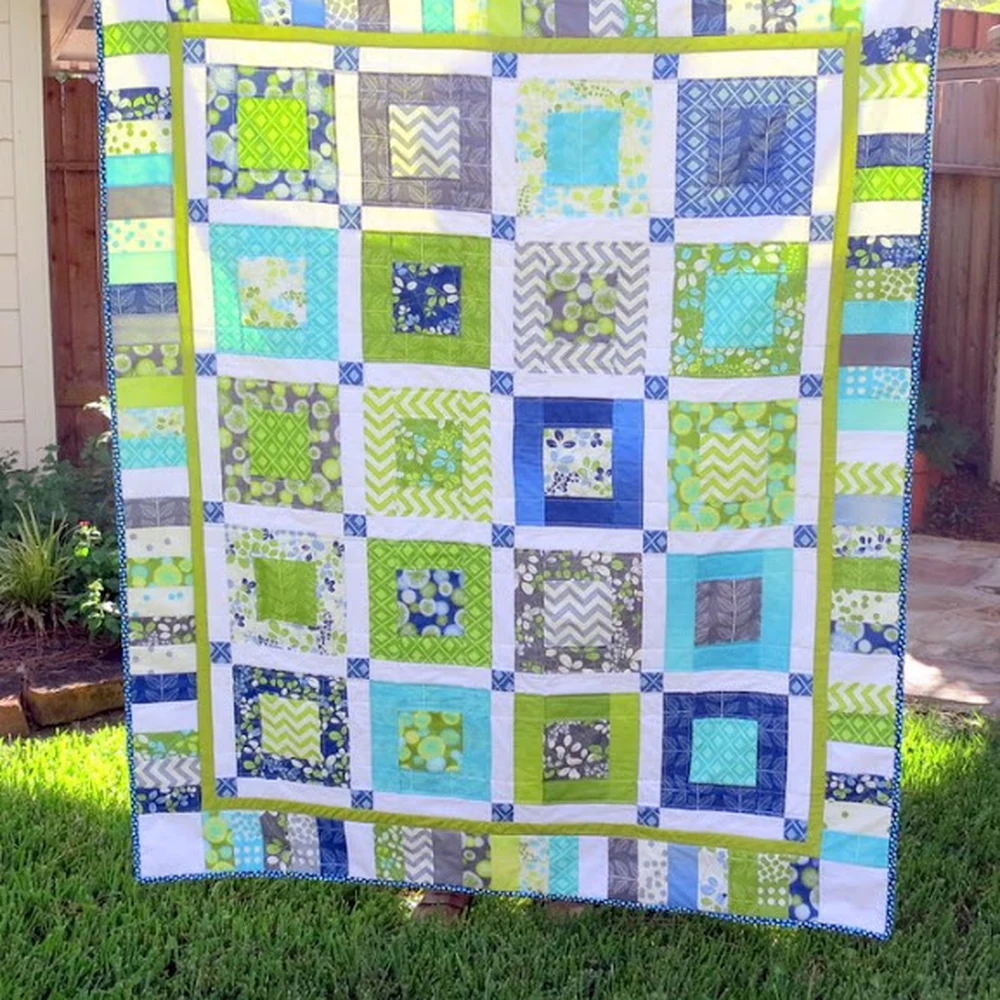
11. Jelly Roll Friendship Quilt Tutorial
Skill Level: Beginner
Time to Make: 2 to 3 days
Friendship quilts have always been about bringing fabrics and memories together, which makes jelly rolls a natural fit. Coordinated strips create a quilt that feels unified, yet every print still has a chance to stand out as the blocks come together.
Choosing the right batting has just as much impact as choosing the fabrics. Natural cotton batting gives the quilt a soft finish that’s comfortable to use throughout the year, and if you’re looking for another collection of playful quilt layouts, our animal quilt patterns are well worth bookmarking.
Simple Ways to Get Better Results with Jelly Rolls
Resist the urge to separate every strip into colour piles before you begin. Fabric collections are usually designed to work together, and keeping much of that original balance often produces a quilt that feels more natural from the very first block.
Take a photo of your layout before sewing each row. Looking at the quilt on a smaller screen makes uneven colour distribution much easier to spot, giving you the chance to swap a few blocks before they’re stitched permanently.
Long strips can stretch slightly during piecing, so sewing at a steady pace is usually more helpful than sewing quickly. Those extra few minutes often lead to straighter rows and cleaner finished blocks.
Common Jelly Roll Quilting Mistakes to Avoid
Cutting into every strip as soon as the jelly roll is opened is a habit many of us develop early on. Saving a few strips until later gives you more flexibility if the quilt needs extra contrast or a stronger accent colour.
Ignoring fabric direction is another easy mistake. Some prints have an obvious top and bottom, and checking those before sewing prevents little surprises once the quilt is assembled.
Finally, don’t judge the quilt after the first handful of blocks. Jelly roll quilts often transform during the final layout, and patterns that seem ordinary at the beginning can become the ones you reach for again and again once the whole design comes together.
Jelly rolls take much of the preparation out of quilting, leaving more time to enjoy colour, piecing, and watching a quilt grow one strip at a time. Pick a pattern that fits your skill level, trust the process, and you’ll soon have a quilt that’s every bit as enjoyable to make as it is to use. Here are even more gorgeous jelly roll patterns to sew next!